Tuesday, January 8, 2013

Banana Cake with Chocolate Buttercream

The proverbial leftover bananas were staring at me to create something today and since I've done just about every combination in banana bread, I decided on cake. 
 Paired with chocolate is always a good idea, so I chose a chocolate buttercream and made this looked just like one of the old-fashioned cakes my mom would have baked for us...
...nothing fancy, just a lot of homemade goodness.

I was also thinking how our daughter, Erin loved when I made frozen bananas, then dipped them in chocolate; my teeth hurt thinking how my girls could bite into this frozen treat:-D

Banana Cake with Chocolate Buttercream
1/2 cup (1 stick) unsalted butter, at room temperature
1 1/2 cups granulated sugar
2 large eggs
2 to 3 ripe bananas, peeled and mashed
1 T vanilla extract
2 1/4 cups King Arthur all-purpose flour
1 tsp. baking powder
1 tsp. baking soda
1/2 tsp. salt
1 cup buttermilk

Preheat oven to 350F-degrees.  Spray two 9-inch round baking pans with a baking spray.  I also wrapped Baking Strips around the pans so the top of the cake would stay flat and not "round up."


In a stand mixer, using the paddle attachment, cream the butter and sugar together.  Add the large eggs, one at a time, beating well after each one.  Scrape down the sides of the bowl, as needed, using a spatula.  Add the vanilla and mashed bananas and mix again.  Don't worry if it looks a little curdled.

Add the dry ingredients, alternatively with the buttermilk until combined, then, mix 1 minute more at medium speed.  Divide the batter between the two prepared cake pans.
Bake for 30 to 35 minutes until the cake pulls away from the sides and a wooden skewer comes out cleanly from testing in the center of the cake.

Allow to cool about 5 minutes, then invert on a waxed paper lined rack and a serving plate.

While the cake is baking, make the Chocolate Buttercream.

Chocolate Buttercream
10 oz. bittersweet chocolate chips ( about 1 3/4 cups + 1 T)
1 cup heavy cream
1/4 cup Light Karo Syrup
1/4 tsp. salt
1 1/3 cups confectioners' sugar
10 oz. unsalted butter at room temperature
2 tsp. vanilla

Using a food processor with the knife blade, place the bittersweet chocolate chips in the bowl.  In a small sauce pan, combine the heavy cream, Karo syrup and salt and bring just to a boil, stirring constantly.
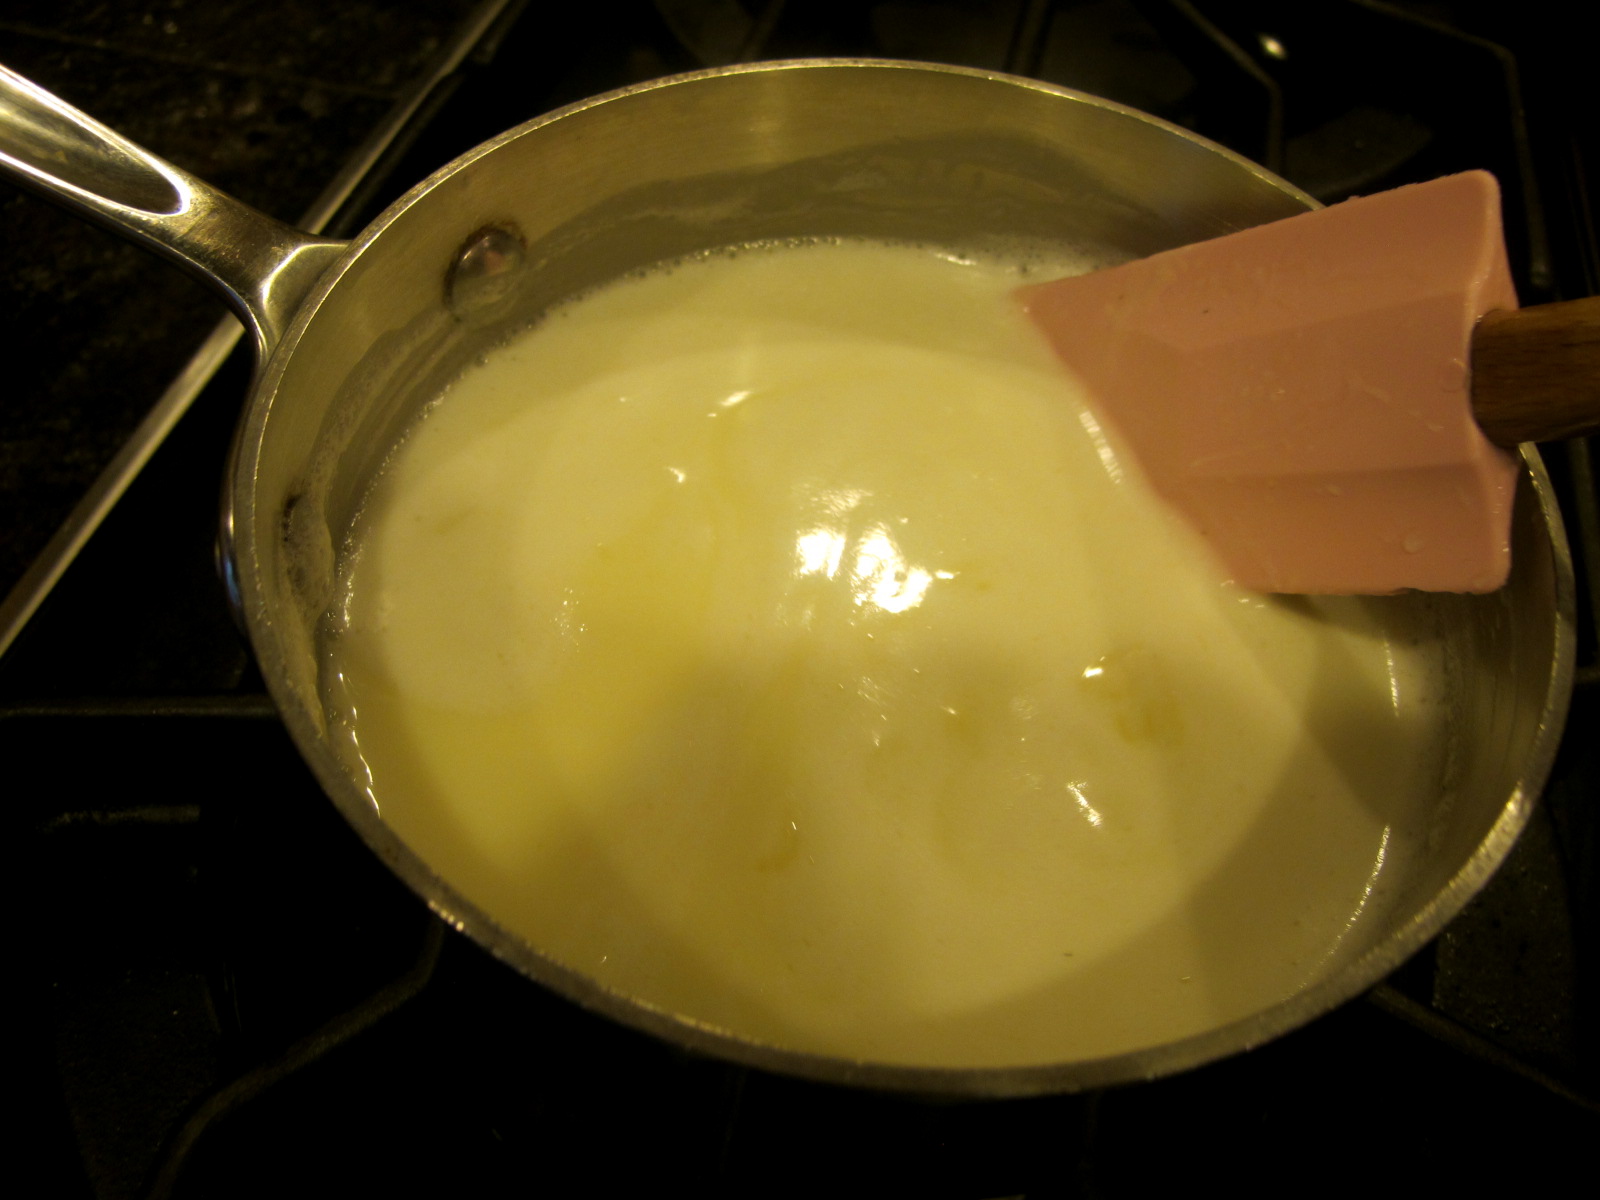
 Pour the cream mixture over the bittersweet chocolate bits and allow to sit about 5 minutes.  Place the top on the bowl and pulse several times, then turn the machine to ON to completely combine.  Add the confectioners' sugar and vanilla and pulse again to combine.  Finally, while the machine is ON, drop the softened butter through the feed tube until all of it has been used.

Transfer this mixture to a medium bowl and cover with plastic wrap.  Refrigerate 1 to 1 1/2 hours while the cake layers are cooling.
The mixture resembles a ganache at this point
 Just before it's time to frost the cake, use a hand mixer to "fluff" the frosting.
 Spread about one-third of the buttercream on top of the bottom layer and smooth out to the edges.  Place the top layer on.  Spoon the remaining buttercream on top and frost the top and down the sides, using an off-set spatula.
 I did a swirl pattern, just like my mom would have done.  Just a plain cake, but oh so elegant.

I'm celebrating a gift I received yesterday from Sandy at Stitches and etc. of this beautiful bookmark wrapped in a knitted cotton cloth that I won on her blog--yes, I've been winning a lot lately!  
It absolutely is perfect for the book I'm reading and brought back a beautiful memory of making an owl costume with my daughter Kelly for her Ari's first Halloween.  I really am blessed with all the dear friends I've met blogging through Kelly's insistence that I share my stories, XOXO
Just in case you're not a chocolate buttercream fan, this cake would be lovely frosted in a cream cheese icing as well...but with the week I have ahead, CHOCOLATE is my "drug" of choice. Enjoy!   
  

Monday, January 7, 2013

Easy Brioche


Bread baking has always been my forte; I think back to when I was 7 years old and my mother turned over the duty of baking rolls for Thanksgiving to me and how excited I was to see everybody enjoying what I had made.  There is just something so rewarding and actually, healthier in baking your own bread.  My mother knew this and passed her wisdom on to me.

Brioche was not a bread she ever made.  Probably, like bagels, it was not in the "mainstream" diet of a middle-class family like ours.  However, when I had the opportunity to attend the CIA for pastry arts, I learned how to make this bread I had only had at fancy restaurants--it makes the best French Toast and Bread Pudding--and I was hooked.  This bread is French in origin, with the first recorded baking date of 1404.   It's said that Marie Antoinette was eating Brioche when she exclaimed, "Let them eat cake!"  The high egg and butter ratio is what fits this bread more into a pastry category and gives it the light, airy texture with it's dark, flaky crust from the egg wash applied before baking.

Taking the scariness out of attempting Brioche is what I wanted to share with you today.  The only time consuming aspect of this recipe is waiting between risings and, if you're lucky like my sister who raises her own chickens, the cost of a half-dozen eggs won't break the bank.  In spite of that, it is a wonderful bread and I was thinking with these cold, dreary days it would be a delightful treat with a cup of tea by the fireplace.

Easy Brioche
6 large eggs
1 T. salt
1 lb. 2 oz* King Arthur all-purpose flour (Plain Flour)

5 T whole milk, (warm 30 seconds in the microwave)
1T + 1 1/2 tsp. dry active yeast or 1/2 ounce of cake yeast

12 oz. (3 sticks) unsalted butter, at room temperature (I used a higher fat content from a European butter)

1/4 cup superfine sugar (if you can't find this, place granulated sugar in a food processor and pulse several times to create a finer granule)


extra butter for the bowl and baking pans
1 egg yolk + 1 T whole milk for the egg wash

Equipment needed: stand mixer with a dough hook, loaf pan, individual Brioche cups or 1 large Brioche baking pan

  •  Day 1 - I usually start the process about 3:00 p.m. in the afternoon

Whisk the six eggs and salt in the bowl of the stand mixer, using a large balloon whisk.  Place the bowl on the mixer with the dough hook.  Turn the mixer on speed #2 and add the flour--(*if you don't have a scale to weigh your flour, it corresponds to approximately 3 1/2 cups + 1 1/2 tablespoons of flour).  Continue mixing until a "dough" comes together.

 Meanwhile, proof the yeast in the warm milk, then add it to the flour/egg mixture.

 Next, mix the superfine sugar and the softened butter together in a small bowl.  Start adding it to the flour/egg/yeast mixture, about a tablespoon at a time while the mixer is running on speed #2.  This should take about 6 to 8 minutes to add gradually, allowing the butter mixture to be incorporated into the batter.

You will definitely see the "dough" change more into a "batter!"  Use a spatula or scraper to bring the dough together and place into a large bowl that has been buttered.


Place plastic wrap over this dough and allow to rise in a warm place until doubled, about 2 hours.  I usually place a cotton towel over the bowl to hold the heat in.
Once the dough has doubled, gently, using a scraper, deflate the dough, turning it over.  Add a fresh piece of plastic wrap, that has been sprayed with a baking spray, and place the bowl in the refrigerator over night for its cold rising.  This rising is what brings the dough together and makes it less sticky!

  • Day 2 - in the morning
Remove the bowl from the refrigerator and allow to sit, still covered, about 30 minutes to adjust to the room temperature.  Lightly flour your bread board (or counter)--try not to over flour and this will result in a tough dough! and turn out onto your work space.

Divide the dough in half.
I was baking a loaf and individual Brioches.  With one half, divide into 8 pieces for a typical loaf of Brioche.

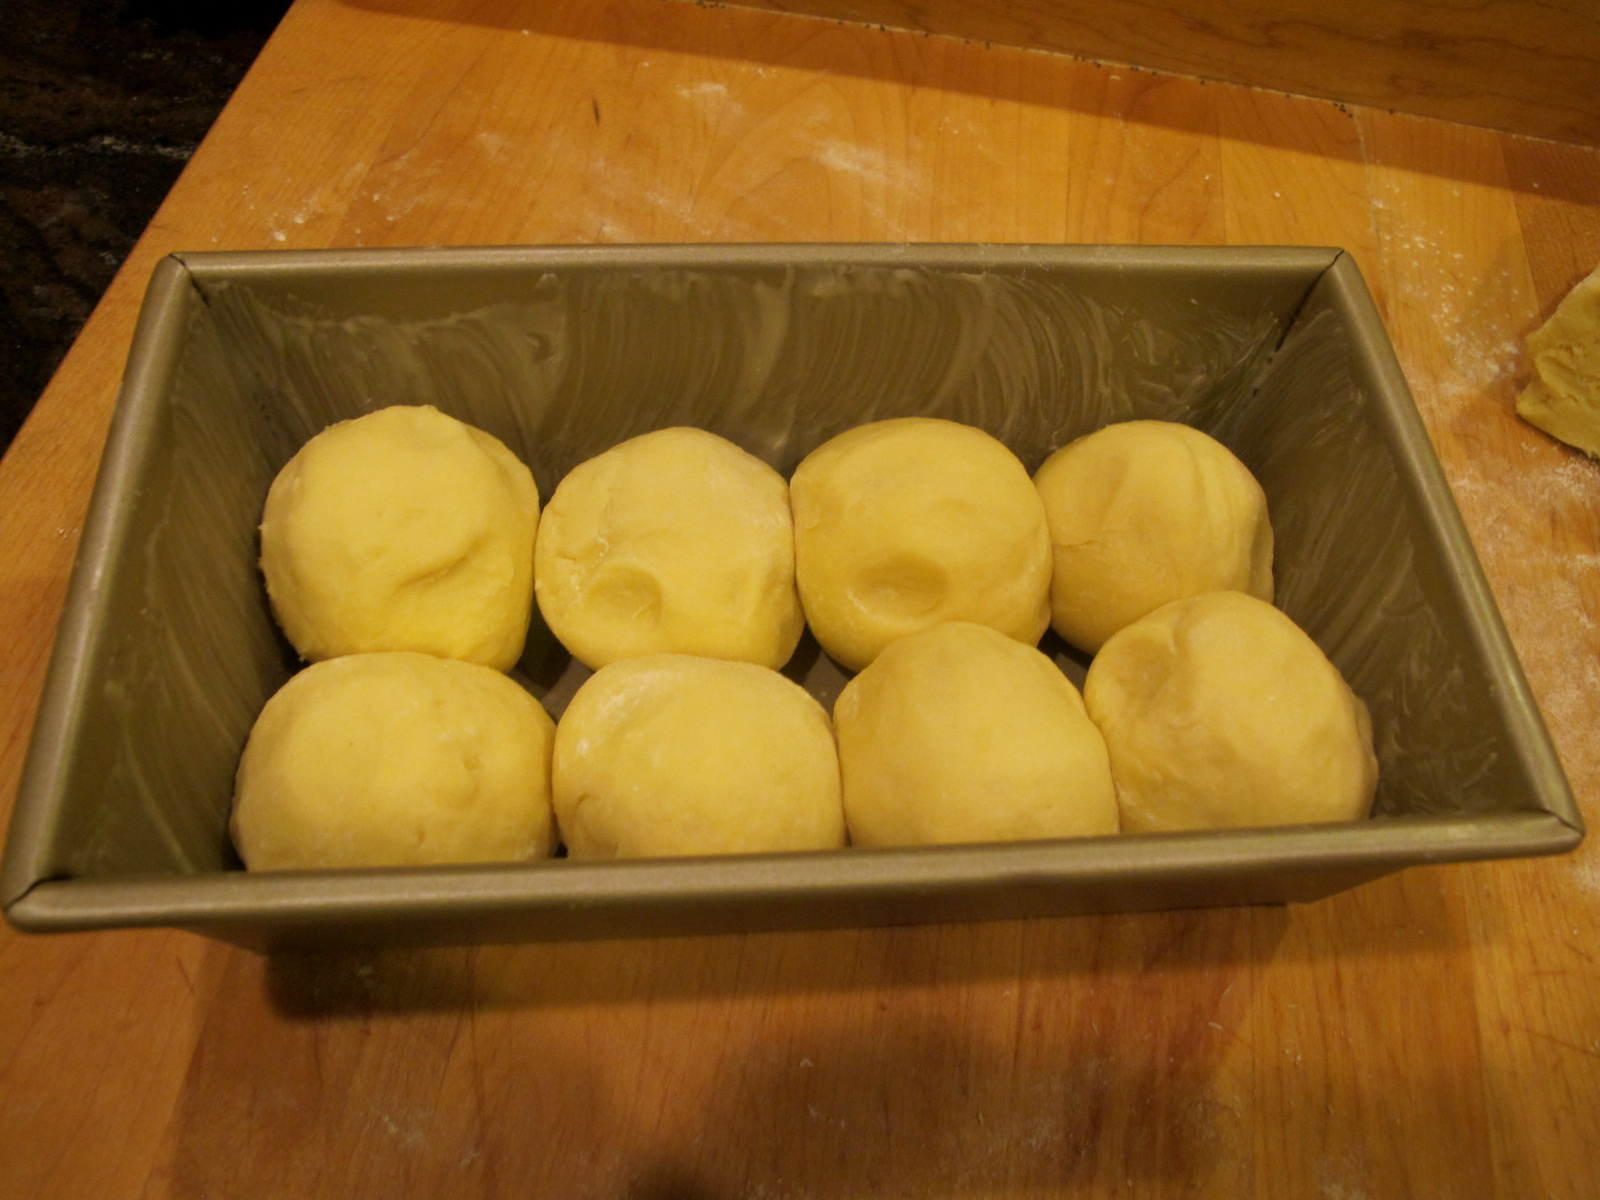
Lightly roll pieces into balls, placed side by side

Whisk one egg yolk with 1 T milk and lightly brush the balls.  Place a piece of plastic wrap, that has been sprayed with a baking spray, over the pan.

The second half, I divided into 12 pieces so I could make a dozen mini Brioches.
Cut about 1/4 of the dough off each ball for the "top-knot".  Roll the larger piece into a ball, then press an indentation into the center and place the rolled small ball into that center.


Brush these individual Brioches with the egg wash and cover them also with the plastic wrap that has been sprayed.  Allow to rise until doubled in a warm place-- 1 1/2 to 2 hours.  Place the egg wash in the refrigerator, covered, to brush again after this rising.

Just before the Brioche has fully risen, preheat your over to 350F-degrees. Lightly brush the loaf and individual Brioches with the egg wash, once again.  Bake the individuals about 18 to 20 minutes until a dark, golden brown.
Continue baking the Brioche loaf about another 15 to 18 minutes, until it's also golden brown.  Remove from the oven and allow to cool completely before slicing...if you can resist.

In December, I was lucky enough to win a Give-Away on Knatolee's blog--honey and homemade soaps.   I decided to make some honey butter to slather on my brioche with a cup of tea.
I wish you were all here to have tea with me and we'd chat about what the New Year will bring.  I'll just have to close my eyes and imagine.  Enjoy!


Saturday, January 5, 2013

Gratitude


It's the perfect time to link to Linda's blog on a subject that hit home today--gratitude.  I have so many things I'm thankful for, but today in the mail came a box from my daughter, Erin.  She had bound my blog in three volumes (okay Ann, now my recipes are published:-D)!

The first volume was actually my Christmas present in 2010 after Kelly passed away.  The photo on the front was the last Christmas that we were all together at our home in Redmond.
I had given my girls silicone rolling pins and Kelly had started a blog for all of us to do--The Baker's Dozen

This photo, on the back cover, is me cooking in Kelly's kitchen in Kentucky with both the grands!


The second volume with the photo of pumpkin pie on the front cover is a memory that it would have been Kelly's 40th birthday and she always asked for pumpkin pie!

The back cover photo is when I was at Erin's house and Maddie and I had baked cookies together
The third volume has the photo of the 100th apron I have made--a very special milestone!  The back cover is a photo of the grands when they were here this passed summer at Camp Mimi's.  A memorial time that I wouldn't trade for anything.

Gratitude abounds for this incredible gift from my dearest daughter with this message from her:
  
"Dear Mom,
I may not always comment, but I love reading your blog and
I'm so proud of you.  Your creativity inspires me every day
and your stories and reflections are a treasure.
Love always, Erin"

It truly has been a very special day and I know that my mother's love of baking, which she passed on to me, will go on with other generations...and I'm grateful, XOXO 

Friday, January 4, 2013

Perfect Popovers

Popovers are something I didn't make with my mom, but we made a derivative, Yorkshire Pudding, on Sundays when we made a roast for dinner.  My first encounter with popovers was in 8th grade home economics when we did our chapter on eggs--popovers and cheese souffle were the recipes.  I haven't done a cheese souffle in a few years, but popovers are a favorite "go to" for a quick bread alternative with dinner or as I did this morning, for breakfast.

Also, popovers became a favorite when our daughters attended Mount Holyoke College.  The next town over from South Hadley is Amherst, Massachusetts and there is a restaurant called Judie's that serves gigantic popovers with homemade apple butter and a wedge of iceberg lettuce with their house French dressing.  Believe me, it's a meal!

I've perfected the baking method (since the ingredients are standard!)  My trick is placing the popover pan in a cold oven, then turning the temperature on and not peeking for at least 35-40 minutes.  They're light and easy with only 4 ingredients.  In addition, just in case you have any leftovers, they freeze well too:-D

Perfect Popovers
1 cup whole milk
3 large eggs
4 T unsalted butter, melted
1 cup King Arthur all-purpose flour
1/4 tsp. salt

Brush a 6-cup popover pan with the melted butter.  Set aside.
In a 1 quart Pyrex bowl with a spout, add the eggs.  Use a balloon whisk to break up the eggs.  Slowly add the whole milk (I buy individual 8 oz. milk that can be stored on the shelf until opened).
Add the rest of the melted butter and then, the flour and whisk again until smooth.  Pour the batter into the prepared pan, filling the openings about two-thirds full.

Place the filled pan in the "cold" oven and close the door.  Turn oven to Bake (or Convection Bake) and set the temperature for 375F-degrees.  Do not open the door during the baking time.  At 35 minutes, turn on the oven light and check the popovers.  If they're a golden brown turn off the oven and allow to set in the oven an additional 5 minutes.  Remove from the oven and serve warm.
Pulled apart, the center is light and airy.  I served mine with some unsalted butter and homemade Pumpkin Butter.  It was yummy!

Memories of having a meal with my girls at Judie's came flooding back.  Kelly wrote an essay that was published on the lessons she learned at Mount Holyoke and was teaching her son.  She ended with the hope that her sister, Erin would allow her to go with her when she took Maddie there--I know she'll be there in spirit. Enjoy! 

Thursday, January 3, 2013

Junk in the Trunk Bars & January's Give-Away

The inspiration for the name of these bars comes from a phrase my DH deemed for our new kitty--Rosie.  When we got her, we were surprised how "chunky" she was from still being in with other mama cats who were tending to kittens; her diet consisted of a high-calorie dry food for a nursing cat.  However, those extra pounds didn't stop Rosie from jumping to where ever she wanted to be, so my DH would say, "my, how can she jump with all the junk in her trunk!"


She is slimming down, much like the rest of us after the holidays.  In fact, I read that 98% of people making resolutions have losing weight near the top!

And...Here is this month's apron for the next Give-Away.  One of my dearest friends birthday is in January and since her birthstone is a Garnet, this fabric just spoke to me as the next apron.  I love the colors and if you look closely, you'll see some Queen Anne's Lace.  One of the paintings my mother did for me for a birthday was of this favorite wild flower--I cherish it.
To be eligible for the apron, just comment on any of the posts I do for the month of January and you're entered!

Junk in the Trunk Bars
1 cup (2 sticks) unsalted butter, melted
4 cups dark brown sugar, lightly packed
4 large eggs
1 T vanilla extract
2 1/2 cups King Arthur all-purpose flour
1 1/2 tsp. baking powder
1/2 tsp. salt
1 cup dried cherries (or cranberries)
2 cups lightly toasted pecans (or walnuts) broken into pieces
1 1/2 cups bittersweet chocolate bits
1 1/2 cups pretzels, crushed

Preheat oven to 325F-degrees.  Butter a 9" x 13" baking pan.  I used my springform pan, if you don't have one, I would suggest you line the bottom with parchment and butter the parchment too.

In a stand mixer, using the paddle attachment, beat the brown sugar and melted butter thoroughly.  Add the eggs, one at a time, beating well after each addition and scraping the sides of the bowl as needed.

Add the dry ingredients, dried cherries, 1 cup each of pecans, bittersweet chocolate bits, and pretzels and mix until combined.

Spoon batter into the prepared baking pan.
Smooth the batter and then add, 1/2 cup crushed pretzels and bittersweet chocolate bits and 1 cup of broken pecans on top.
Bake 40 to 45 minutes, covering the top with aluminum foil after 25 minutes of baking to insure the  center bakes evenly.
Remove from the oven and allow to cool about 1 hour before cutting into squares.
Having removable sides certainly helps!  The nice thing about this recipe is that you can customize it to suit what "junk you like in your trunk!"  You can change up the nuts to walnuts, cashews, or peanuts; add coconut, or do a mixture of baking bits--peanut butter, butterscotch, semi-sweet, etc.

Rosie is on her way to being a slimmer kitty as are we with watching our diets for the new year too.  BTW, everyone who is having beautiful snow, let me give you a peak at what I'm seeing outside my door.
Yes, that's my daffodils daring to pop up!

 Enjoy!