Tuesday, September 11, 2012

Gingernut Cookies

Today is a day of remembering--for our Nation, the senseless act of terrorism that changed us all forever.  I was living in Connecticut, but my husband had left for Seattle just three days before to start a new job; it was just me and Bailey, my cat.  Our oldest daughter, Erin was in Pasadena and Kelly was in Colorado.  I usually went to my friend, Gwen's house and with three other friends, Muriel, Grace, and Sue, we'd stamp, create cards, have lunch and laugh until it hurt!

However, I had signed up for a 6 hour workshop that started at 2:00 p.m. and didn't want to leave Bailey alone all day long, so I was at home instead of being with my friends.  I don't normally have the television on, but on that morning, the quietness of the house lead me to turn on GMA (Good Morning America).  While sitting on the sofa, Bailey sleeping on the back cushion directly behind me, I watched, as millions were doing, the tragedy unfold.  The first thing I did was called my husband, who was just coming in from the gym before going into work (it was only 6:00 a.m. pst). I told him to turn on the television and then I wanted to call my girls.  I was able to get a hold of Erin because like my hubby, she was three hours behind me, and tell her what was happening.  Even though she had relocated to Pasadena to be closer to her fiance, her main office was in Manhattan, and she needed to know what was happening there.  Kelly was in class and I had to wait to talk to her, but I kept trying because I needed to hear all of their voices.

I wasn't going to bake today, but then I knew that baking was a calming part of the day eleven years ago; it kept me focused on the events that were unfolding and from trying not to miss being with my family.  Ginger cookies are a favorite in our family and usually I add molasses, cinnamon, and cloves, but this one is just ginger.  Ginger is a rhizome and besides its many culinary uses, it also has just as many medicinal ones...including a digestive aid.  These cookies have few ingredients, but with a cup of tea, a welcomed tranquility on this day of a quiet remembrance of the lost lives and heroes of The Towers, the Pentagon, and Flights 11, 175, 77, and 93.

Gingernut Cookies
1 1/4 cups + 1T (2 1/2 sticks + 1T) unsalted butter, at room temperature
2 1/4 cup light brown sugar, packed
1 T vanilla extract
2 large eggs
2 3/4 cups King Arthur all-purpose flour
1/2 tsp. baking soda
1 T + 2 tsp. ground Ginger
1/4 tsp. Kosher salt
1/3 cup mini ginger chips (optional)

Preheat oven to 350F-degrees.  Line a baking with parchment paper and set aside.

In a stand mixer, cream the butter, sugar, and vanilla together thoroughly until light and fluffy.  Add the eggs, one at a time, beating well after each addition.  Scrape down the sides of the bowl as needed.
 Sift the flour, baking soda, salt and ginger together and add to the batter, beating on low just until combined.  Stir in the mini ginger chips, if using.
Use a 2-tablespoon scoop to measure the batter, roll tops in Turbinado sugar, then, place on the parchment lined baking sheet.

Bake for 10 to 12 minutes, until golden brown.  Let cool 5 minutes or more before transferring to a rack to cool completely.
A package of these cookies will be in a box headed to my grandson...because like his mama, he likes ginger cookies too.  Never Forget!
 

Friday, September 7, 2012

KAF Pumpkin Cake Doughnuts

It's been no secret, since I started blogging over three years ago (August 13, 2009) that one of my weaknesses in doughnuts:-D  So, when I received a King Arthur Flour email with this recipe this morning, I started drooling all over my keyboard--LOL!  I had pumpkin puree left from making my husband's birthday cake and thanks to a TIP they give, I could use the new Self-Rising Flour they have out.
 How easy.  I know I'm a little early starting pumpkin recipes--it was Kelly's favorite (and her son, Ari), and even if the temperatures aren't saying it's Fall, the leaves covering my lawn and deck sure says it's coming.

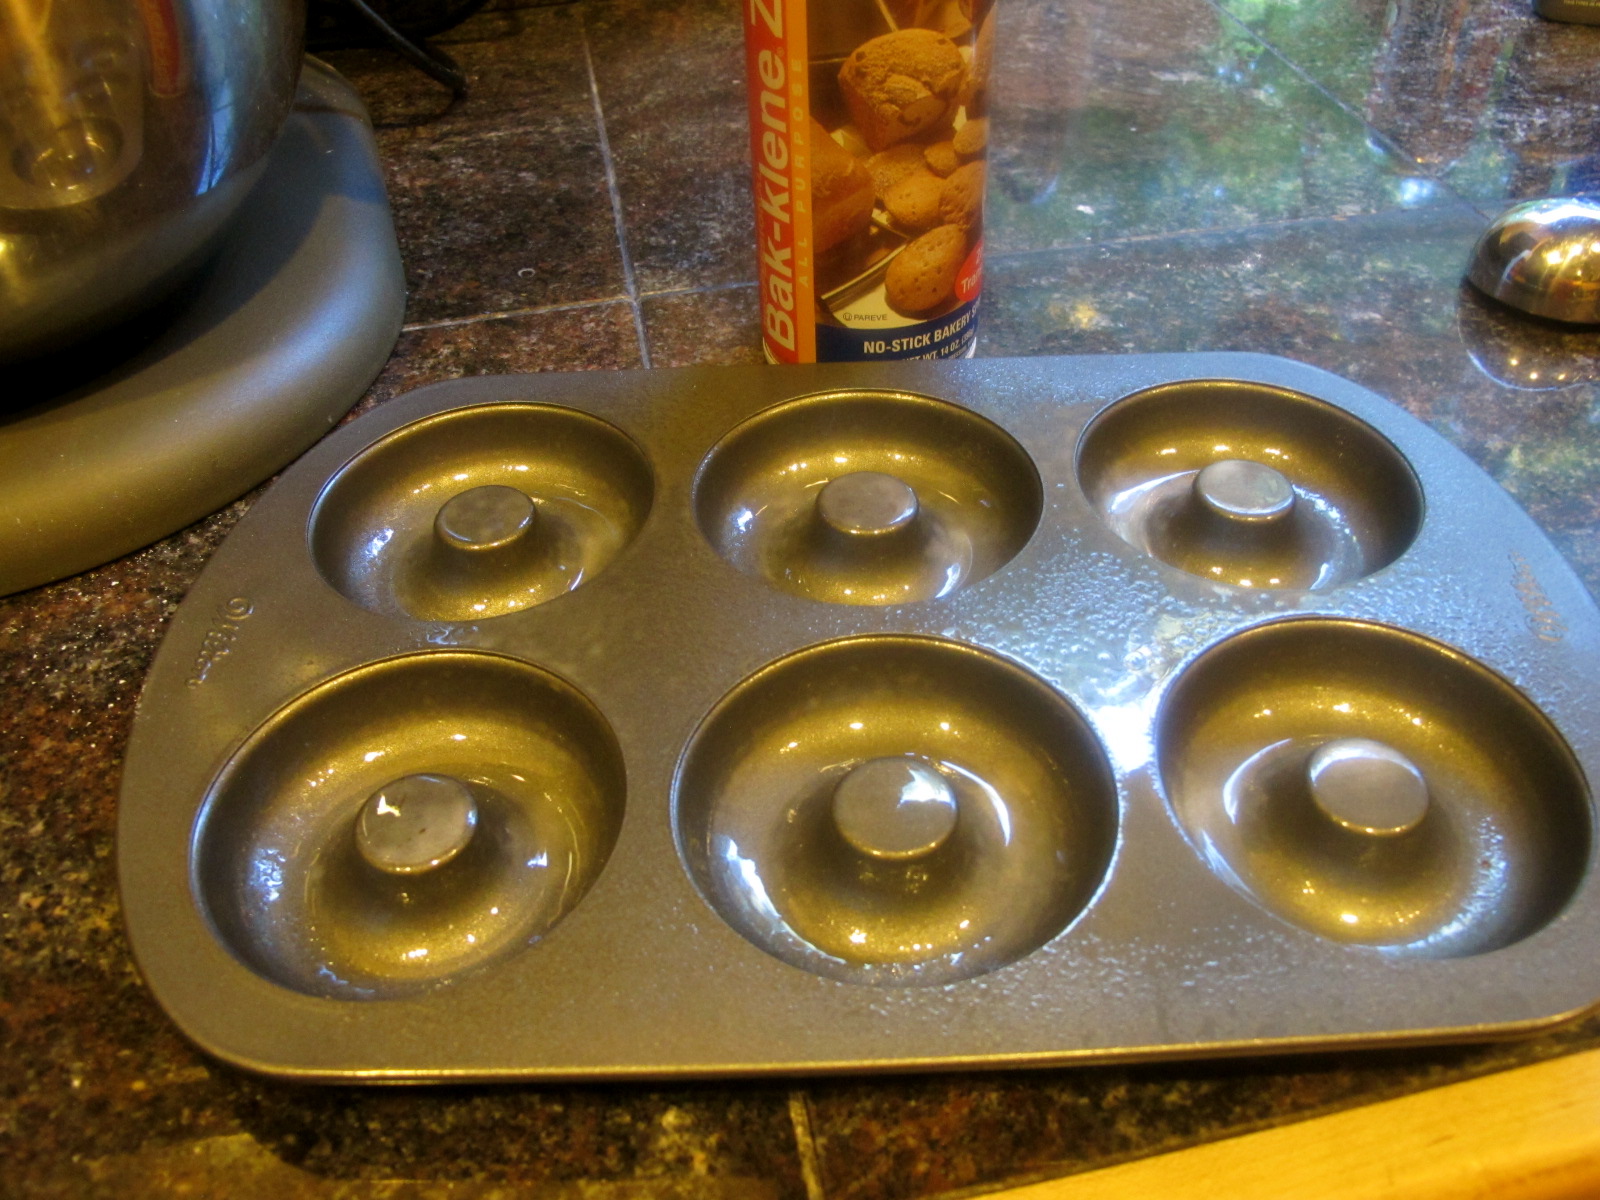
These doughnuts are baked in a Wilton pan that not only makes it easy and using the self-rising flour made it faster.
The only thing I changed was that I dipped the tops in melted butter then, a mixture of sugar/pumpkin pie spice.  To view the original recipe go to--Pumpkin Cake Doughnuts.

Begin with beating the sugar, oil, eggs, and pumpkin puree in a large bowl.  I used a large whisk because after seeing our First Lady Michelle Obama's beautiful biceps and triceps this week at the Democratic National Convention, I couldn't help but want to put in a little extra work in that area:-D
I added the flour and Pumpkin Pie Spice that I've made before on a previous post.

Spray the doughnut pan with a baking spray and scoop the batter into the doughnut wells.  (I like to make sure the "hole" is showing through.)  However, they give the alternative directions if you want to bake muffins instead.

Mine baked at 350F-degrees for 17 minutes.
Allow them to cool slightly in the pan (about 5 to 7 minutes) before turning them out onto a wire rack to continue cooling.

KAF suggests that once they're not so fragile, place doughnuts in a bag and shake to cover with a mixture of sugar and cinnamon.  Like I said, I chose to dip the tops in 1/2 cup (1 stick) melted butter then, a mixture of 1/2 cup granulated sugar and 1 tsp. pumpkin pie spice.
The doughnut are full of flavor and so satisfying to start off a busy day.  I love baking "muffins" in this pan and so did my grands--it's easier for them to pick up and the proportion was perfect!
Thanks KAF!  You made my Friday a truly TGIF!  Enjoy!!


Wednesday, September 5, 2012

Lemon~Raspberry Marble Cake

One of my favorite cakes to make with my mother, then, with my girls, was a marble cake.  I felt like it  brought out the artist in me, swirling the batters to make a perfect design and marriage of flavors.  It didn't need a fancy frosting, just a dusting of confectioners' sugar and a glass of milk...or cup of tea.

The concept of marble cakes (or as they might have been know, Harlequin cakes) showed up in the first part of the 19th century.  It's a mixture of light and dark batters that are dolloped in a baking pan, then, swirled together--usually it was vanilla and chocolate, but as I've come to know, nothing is written in stone.

I've used freeze-dried fruit before and this time, I used "Just Raspberries."  These 100% crunchy little fruits pack a lot of flavor and provided the raspberry marble to this cake.  For the lemon,  I used half of a lemon for zest and juice, and some Lemon Bits.   However, if you don't use the Lemon Bits, increase the zest and juice from the whole lemon.

Lemon~Raspberry Marble Cake
1/2 cup (1 stick) unsalted butter, at room temperature
1 cup granulated sugar
2 large eggs
1/2 tsp. vanilla extract
1 3/4 cup Queen Guinevere Cake Flour
1 1/2 tsp. baking powder
1/2 tsp. Kosher salt
1 cup sour cream

Lemon:
juice and zest of one-half lemon
1/3 cup Lemon Bits

Raspberry:
1 - 2oz pkg. "Just Raspberries" finely grind in a food processor
1/4 tsp. Cran-Raspberry flavoring (optional)
2 T milk


Preheat oven to 400F-degrees.  Lightly butter and flour an 8-inch round (or square) baking pan.

In a stand mixer, using the paddle attachment, cream the butter and sugar together.  Add the eggs, one at a time, beating well after each addition.  Scrape down the sides of the bowl as needed.  Add the vanilla extract,  dry ingredients and the sour cream and mix to combine.  Mix 1-minute more at medium speed.

Divide batter in half.  Stir in the lemon zest, juice and Bits to half of the batter and to the other half, stir in the Just Raspberries, flavoring and milk.  

Place dollops of the lemon in the cake pan (4 or 5).  Next, add dollops of raspberry batter in between.  Use a knife to swirl the two batters together carefully--you want a marble to show off both flavors!


Bake in the preheated oven for 15 minutes, then lower the temperature to 350F-degrees and continue baking for another 25 to 30 minutes.  A wooden skewer tested in the middle of the cake should come out cleanly.  Remove from the oven and let cool 5 minutes.  Remove from the pan and place on a serving plate to cool.  Before serving, dust with confectioners' sugar or make a simple glaze.
Aren't these hydrangeas beautiful with their touch of green!

Do you have memories of baking marble cakes?  I'd love for you to share because this is a big memory for me, both with my mother and impressing my daughters the first time we baked it together.  Enjoy!


Monday, September 3, 2012

One Dough...Two Breads


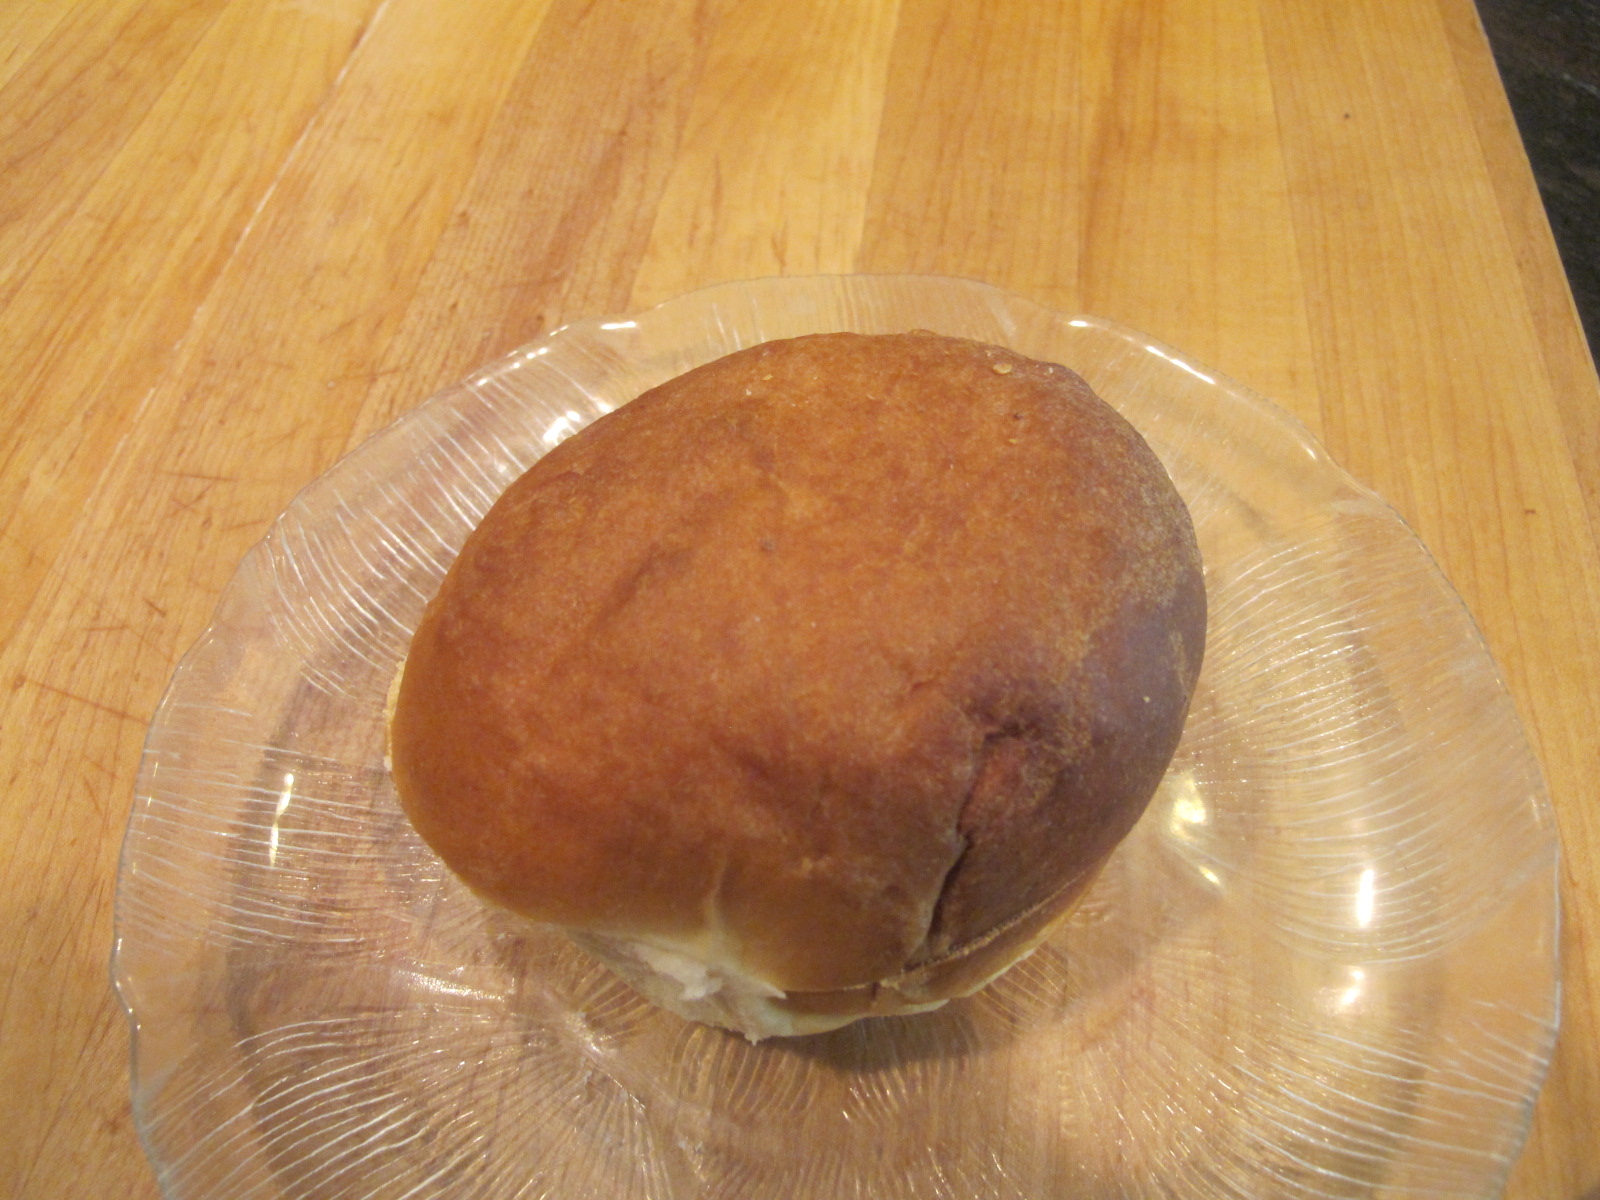
I'm very excited about a new product I came across called SAF Gold Instant Yeast.  It's especially designed for breads with a high sugar content (more than a couple of tablespoons) like sweet breads or that really good butter-topped bread we love to make sandwiches with.  When you bake a yeast bread that calls for sugar, you've probably noticed that, when it's baked and eaten the same day, the texture inside is soft.  However, sugar is a "thief" and takes water away from the yeast, leaving it thirsty and unable to grow properly.  This yeast is "osmotolerant" and requires less water (moisture) than normal and thus is able to grow in spite of sugar's attempts.  Now, what this really means is that the nice soft center of these breads does just that, stays soft, even day 2 or 3.  I know, I used it on the rolls I made for my husband's birthday on Saturday and today they're as if I just baked them.


Too bad for our friendly birds who get the leftover breads that dry out:-(

I baked two different breads this afternoon--a white, butter-topped loaf and an apple spice twist loaf...all from the same dough.  There's a definite change in season upon us and, as much as I'm fighting it, I'll have start using the F-word..Fall!  The leaves are scattered over our lawn and the deck, the pond is quiet where just a few months ago there were new goslings born, and the nights have a definite chill about them.  Baking bread is a good Fall activity; I know, I use to bake bread with my mom all the time in the cooler months (we didn't have air conditioning!).

Basic Bread Loaf Dough
1 1/2 cups milk
4 T unsalted butter
1/2 cup granulated sugar
2 large eggs
2 tsp. Kosher salt
2 T SAF Gold Instant Yeast
6 cups, plus more for kneading King Arthur Flour
1/4 cup Potato flour
1/3 cup water

4 to 6 T unsalted butter, melted for brushing the bowl the dough rises in, the baking pans, on top of the dough-before and after baking.
Two 5" x 9" loaf pans

For the Sweet Apple Twist Bread:
1 small apple
3/4 tsp. apple pie spice
2 T light brown sugar, packed
2 T granulated sugar

Measure the milk into a 2-cup Pyrex measure and cut the butter into 1/2-inch cubes.  Microwave about 1 minute, adding an addition 20 to 30 seconds to make sure the butter has melted. Set aside.

In a stand mixer, fitted with the paddle attachment, mix the sugar, eggs, and salt.  While the mixer is running on low, slowly add the milk/butter mixture.  Then, add the yeast, while running the mixer on low.  Stop the mixer and let this mixture rest for 5 to 7 minutes for the yeast to activate.
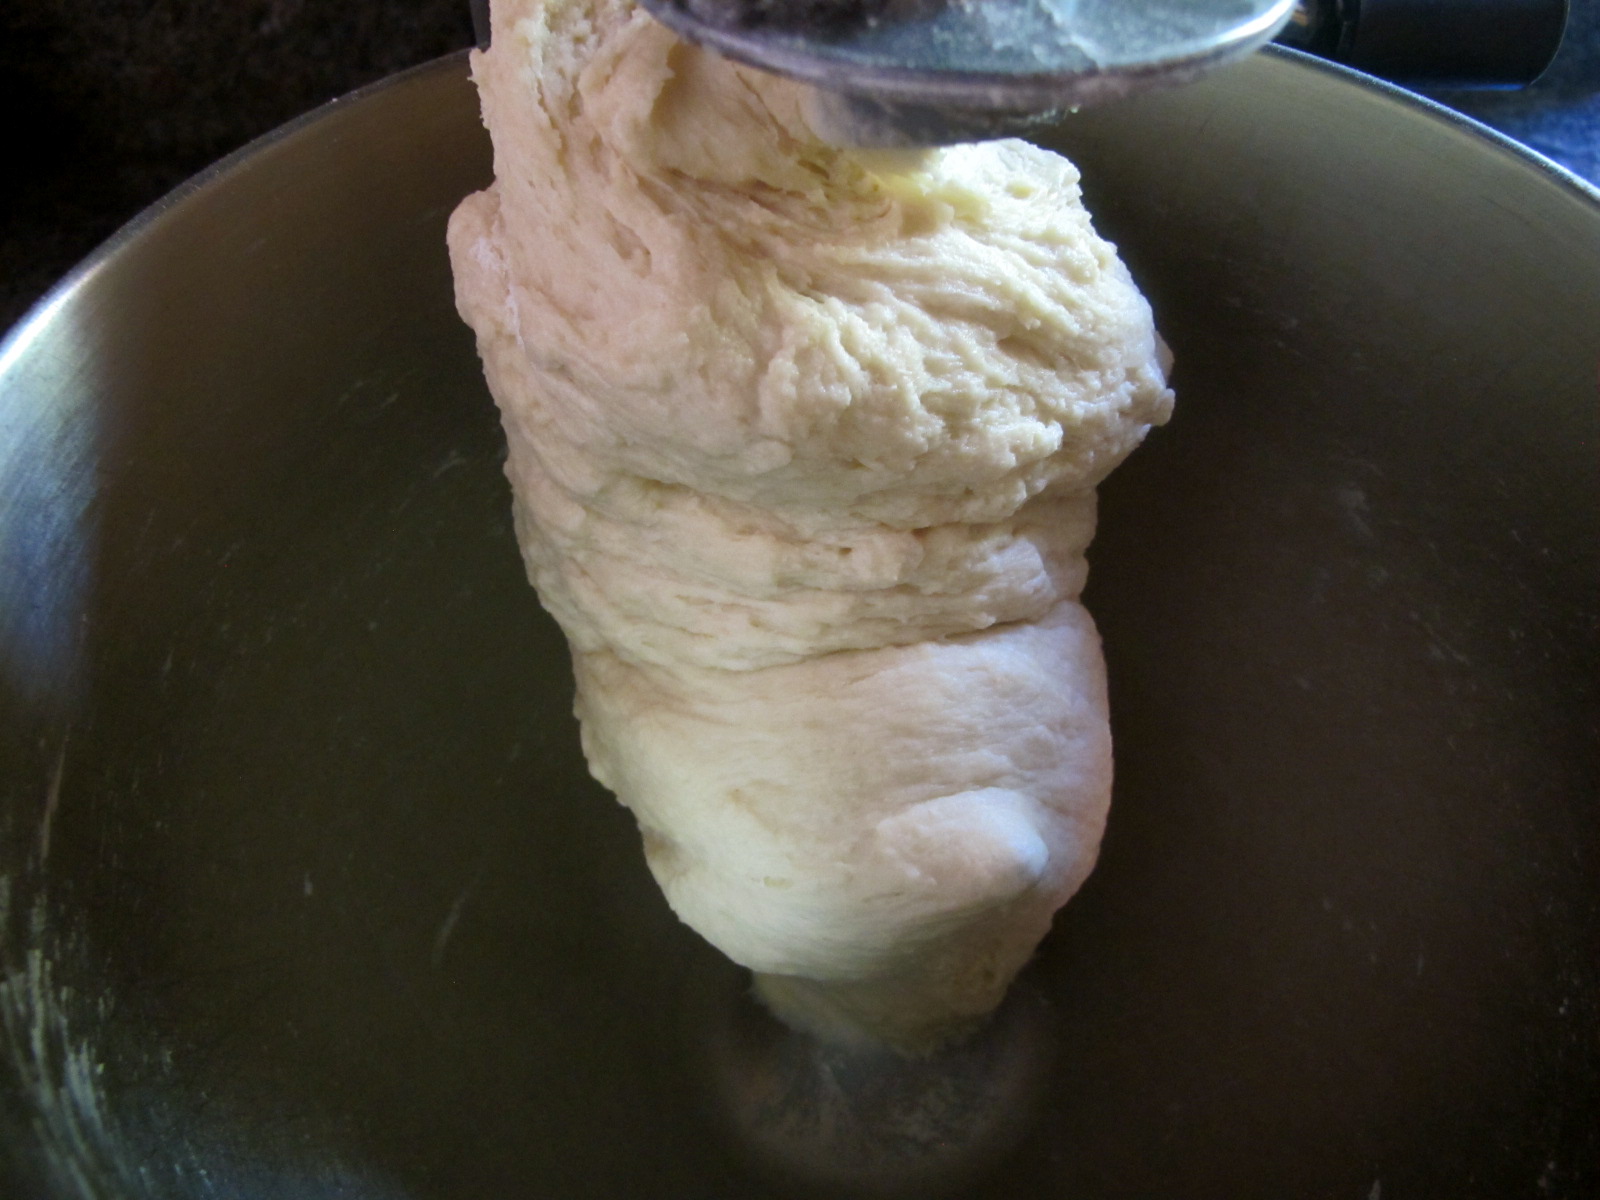
Change the paddle attachment for the dough hook.  Add half of the flour and start mixing on Speed #2.  Add the last 3 cups of flour and the potato flour, plus the water.  Mix until the dough comes together and leaves the side of the bowl.
Lightly dust your workspace (or bread board) with flour.  Transfer the dough and knead an addition 5 minutes or until it comes together into a smooth ball.

Brush a large bowl (or as I used, bucket) with melted butter.  Place the dough, upside down, then, flip it over; this gets the melted butter on the top of the dough.  If using a bowl, place plastic wrap tightly over the bowl.
Because this is an "instant" yeast, it doesn't take long for this dough to rise--30 to 40 minutes (this is quick for a sweet bread!)  Divide the dough in half.
For the Butter-top White Bread, I divided one of the dough balls in half again and rolled each into a rope about 9 inches.  Brush the pans with some melted butter and place the ropes side-by-side into one of the pans.

 Brush the tops with melted butter and place a piece of plastic wrap over it so the dough doesn't dry out while you're making the Apple Twist Bread.  For this bread, divide in half into two pieces and roll the dough to a 4" x 10" rectangle.  Brush the dough with melted butter, then, divide the apple/spice  mixture in half, bring the ends together and seal.  Roll the bread rolls back and forth on the board to seal.  Repeat with the second half.  Twist the rolls together and place in the prepared pan. Brush the top with melted butter like you did for the Butter-top Bread.
 

Cover with plastic wrap and let both breads rise once more.  Preheat oven to 350F-degrees and when the oven comes up to temperature, the dough is ready to go into the oven!

I also covered the pans with a cotton towel to keep any drafts off of them!

Bake for 35 to 40 minutes; they should be golden brown and when tapped on top, sound hallow.
Brush both loaves with additional melted butter
Let set for about 15 minutes in the pan before turning out onto a rack to cool completely!!  I know it will be hard to resist, Oh God! I KNOW!!  Once cooled, slice the bread(s) with a serrated knife.


Yes, Fall is definitely sneaking in, but baking bread, for me, is one way of saying good bye to a glorious summer and looking forward to another season. Enjoy!


Saturday, September 1, 2012

Birthday Boy and September's Give-Away Apron

Today, is my husband's birthday and I went all out making special meals for him all day long--whew!  It started at breakfast when I made his favorite poached eggs with home fries and veggie bacon; that put a smile on his face.  However, it was the dinner menu that I worked on as the piece d'resistance including an ice cream cake.
Pumpkin and gingerbread happens to be two of his favorite flavors, so I made a pumpkin cake and found a Gingerbread cookie vegan ice cream and a Lemon Sorbet to layer it with.
I know what you're thinking..."you didn't make homemade ice cream!"  Well, I had planned to, but my work load has been a little crazy and sometimes, you just have to get help:-D  The cake had been planned for a few weeks since I discovered a wonderful new pan at Williams-Sonoma--Ice Cream Cake Pan.
I baked the pumpkin cake in this silicon mold, cooled it completely, then, sliced it into thirds and layer the ice cream in between.  Simple. 

For the rest of the menu, let's say, I did soup to nuts!

Roasted Corn~Potato Chowder with fresh chives & dill
Apple, Gorgonzola & Field Greens Salad with an apple cider vinegrette
Cedar planked Salmon with a Peach Glaze
Baked Tomato Frittata
Homemade Rolls & Butter

Pumpkin Ice Cream Cake

Pumpkin Ice Cream Cake
3/4 cup (1 1/2 sticks) unsalted butter, at room temperature
1 cup light brown sugar
1/2 cup granulated sugar
2 large eggs
1 cup canned pumpkin (not pie filling)
1 T Pumpkin Spice
1/2 tsp. ground cardamon
1 tsp. baking powder
1/2 tsp. baking soda
1/2 tsp. Kosher salt
1 2/3 cup King Arthur all-purpose flour

2 cups each of two different ice creams (1 pint)

Preheat oven to 325F-degrees.  I lightly sprayed the silicon mold with a baking spray and placed it on a baking sheet. (The mold shouldn't come into direct contact with flames).
In a stand mixer, using the paddle attachment, cream the butter and sugars thoroughly.  Add the eggs, one at a time, beating well after each addition and scraping down the sides of the bowl as needed.
Add the canned pumpkin and the spices.  Mix well.
Add the dry ingredients and mix on low to combine.  Spoon mixture into the mold and tap lightly to settle the cake.
Bake in the preheated oven for 55 to 65 minutes or until a wooden skewer poked in the middle comes out cleanly.
 Let the cake cool for 15 minutes, then remove the "pin" at one end and transfer the pumpkin loaf to a rack to cool completely.
When cool, slice the loaf into thirds.  Place the bottom third of the cake back into the mold, then add softened ice cream.  Spread with an off-set spatula.

  Add the second layer, more ice cream, then the final layer on top.
  Wrap the ice cream cake with plastic wrap and place in the freezer for at least 4 hours.  Remove the pin, slice and serve.
Cake and ice cream all in one--how easy is that.

Now, as promised, I have done the impossible--I actually have September's apron sewn and posted on the 1st of the month--LOL!
This lovely Poppy material represents the last hurrah of Summer for me.  I've noticed leaves starting to fall and the early mornings are quite chilly.   To have a chance to win this month's apron, just comment on any (or all:-) of the posts this month and I will draw a name from those who participate.
Good luck.  I'm tired and there's a pillow with my name on it. Enjoy!