It's said..."Necessity is the Mother of Invention," but I've found "Frustration to be the Inspiration," at least when it comes to mailing cupcakes. I've tried for years to get cupcakes to my loved ones in one piece for their special occasions starting with my grandson's 1st birthday. I buy special "cupcake" boxes and ship them FedEx-overnight, but all too often, the icing gets mashed--which doesn't change the taste, but my presentation is compromised, and for me that is just as important.
Of course, Ari's mom and dad had to do a taste-test of the mashed cupcakes to make sure they were still good (enough) for their precious little toddler, who didn't really seem to care about my presentation!
I will have to admit, this really isn't my original idea, as I came up with the concept from a new cookbook I just bought (Oh, yes, another one! LOL),
Cutie Pies by Dani Cone. Her idea of putting pie in a jar is ingenious, so I thought, if someone could put that baked good in a jar, why can't I put a cupcake?
I'm shipping these wonderful treats out today, with fingers crossed, that they will arrive to surprise the recipients for Halloween and create a new way to get cupcakes across country : ) The moist pumpkin/carrot cake with the salted caramel cream cheese buttercream and a marshmallow topping with toasted walnuts should arrive, just as I pack it.
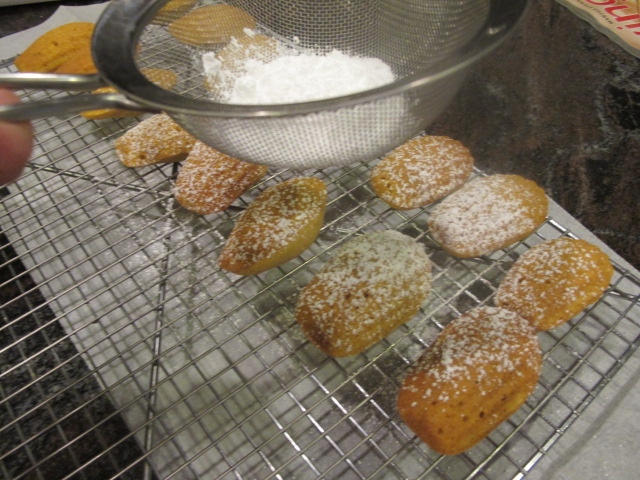
Pumpkin~Carrot Cupcakes
1 3/4 cup canned pumpkin puree
4 large eggs
2 1/2 cups granulated sugar
1 cup vegetable oil
1 1/2 cups (about 2 medium) carrots, peeled and grated
2 1/2 tsp. pumpkin pie spice
1/2 tsp. ground cardamon
3 1/2 cups King Arthur all-purpose flour
2 tsp. baking powder
1 tsp. baking soda
1 tsp. salt
Preheat oven to 350F-degrees. Line 2-12 cup muffin pans with paper liners and set aside.
In a stand mixer, using a paddle attachment, mix the eggs, sugar, oil and pumpkin together on med/low speed until thorough blended. Add the carrots and spices and mix again.
Whisk together the dry ingredients in a medium bowl, then, add them to the mixture and beat on medium speed, just until all the flour is incorporated. Don't over mix!
Scoop batter into the paper liners, filling three-quarters full.
Bake 21-23 minutes until the tops spring back when lightly touched with your finger tips. Remove from the oven and allow to cool in the pan, meanwhile, leave the oven on and toast 1 cup of walnuts (optional) in the 350F-degree oven for 7-8 minutes.
This recipe makes 2 dozen regular cupcakes.
While the cupcakes are cooling, make the homemade caramel.
Salted Caramel:
1 1/2 cups granulated sugar
1 cup Light Karo syrup
4 T unsalted butter, at room temperature
1 cup heavy whipping cream
1 1/2 tsp. Sea Salt
1 tsp. Vanilla extract
In a medium sauce pan, stir together the sugar, salt and Karo syrup. Place the pan over low heat and cover with a lid. Heat until the sugar mixture is bubbling, BUT DO NOT STIR. Remove the lid and raise the temperature to medium. Watch pan closely; when the mixture turns a golden brown, remove from the heat immediately. Add the butter, in pieces, and stir together. Slowly add the heavy cream--the mixture will bubble and release hot steam, so be careful not to burn yourself. When the cream is incorporated, add the sea salt and vanilla.
The mixture will appear thin, but trust me, it will thicken as it cools and makes the most wonderful caramel that you can drizzle over ice cream or even dip crisp Fall apples into : ) Allow to continue to cool while you start the cream cheese buttercream.
Cream Cheese Buttercream:
1/2 cup (1 stick) unsalted butter, at room temperature
8 oz. cream cheese, at room temperature
2 lb. pkg. confectioners' sugar
2 tsp. Vanilla extract
1 cup homemade caramel, cooled
In a stand mixer, using the paddle attachment, cream the butter and cream cheese thoroughly. Add the confectioners' sugar, one-half at a time and starting out on low speed, beat until incorporated. Repeat with remaining confectioners' sugar. Add the vanilla and blend, then, turn the mixer up to medium and beat the buttercream for 6 to 8 minutes incorporating "air" into it. Add the caramel and stir to blend.
Assembly:
Wash and dry 12-8oz. jelly jars. Remove the paper from the cupcake and using a serrated knife, slice the cupcake in thirds, horizontally.
Place the bottom third into the jar, making sure it snuggly fits in the bottom. Fill a pastry bag with the Salted Caramel Buttercream and pipe some over this first layer. Sprinkle some of the "rough chopped" toasted walnuts that was made earlier.
Repeat this step with the middle layer of the cupcake. Finally, add the top layer and pipe more buttercream with a sprinkle of walnuts or do what I did--stepped it up a bit and made a second topping:
Marshmallow Topping:
7 oz. jar of Marshmallow Fluff
4 T. unsalted butter, at room temperature
2 cups confectioners' sugar
1 tsp. Vanilla paste (or extract)
Beat all ingredients together, using a hand mixture and pipe on top of the jar cupcakes.
For the remaining dozen, I piped some homemade caramel into the center, then added a swirl of the Caramel Buttercream with a sprinkle of walnuts.
Whether you go for the scrumptious cupcakes or try the cupcake in a jar, I'm sure you'll be please with this Fall dessert. I know the kitchen sure smelled good when I was making the components and I can't wait for my recipients to be surprised by this new treat. Enjoy!