I remember the first time I had a Blondie. My mother made them using butterscotch chips that had become popular in the 60s and for years that's how I thought a Blondie taste like. However, a few years ago, I bought a cookbook called
The Sweeter Side of Amy's Bread, for her reputation of being one of New York's favorite bakeries and found this recipe.
I've never used another bag of butterscotch chips again...sorry Mom, but these are perfection!
The first time I made them, I was flying to Kentucky to visit Kelly and thought I bring them a "goodie bag" of these indescribably moist bars, topped with walnuts and chocolate chips. Consequently, they had been invited to a birthday party for a friend and Kelly said, "can we bring these to the party because I hate coming empty-handed?" It was a pretty big crowd and these Blondies were definitely a hit; as I knew they would be. I have since made them at least 50 or 60 times and they have become my choice to give as gifts too!
The name Blondie comes from the fact that they have no cocoa powder or melted chocolate in the batter, but unlike my mother's, Amy's addition of the chocolate chips and walnuts will definitely soothe the soul of any chocoholic. Also, the last few times I've made them, I have switched out the semi-sweet chocolate chips for my favorite, bittersweet, and in addition to the vanilla extract, I've been adding a scraped vanilla bean to enhance the flavor.
BLONDIES
4 sticks (2 cups) unsalted butter, melted
3 1/2 cups dark brown sugar, packed
4 large eggs
1 1/2 tsp. vanilla extract
1 Tahitian vanilla bean, split and seeds scraped to add to batter
4 cups unbleached all-purpose flour
2 1/4 tsp. baking powder
1 tsp. Kosher salt
2 cups + 2T Semi-sweet chocolate chips (or Bittersweet)
2 3/4 cups Walnut pieces, toasted and broken
Preheat oven to 350F-degrees. Butter a 12 x 17-inch sheet pan, line with parchment, then butter again.
(*Very important to use the correct size of pan for baking time)
Measure walnuts and toast in the preheated oven, about 8 minutes or until you smell their aroma.
When they're done, remove from oven and transfer nuts to a piece of parchment paper to cool. Use your fingers to break the walnuts...do not chop.
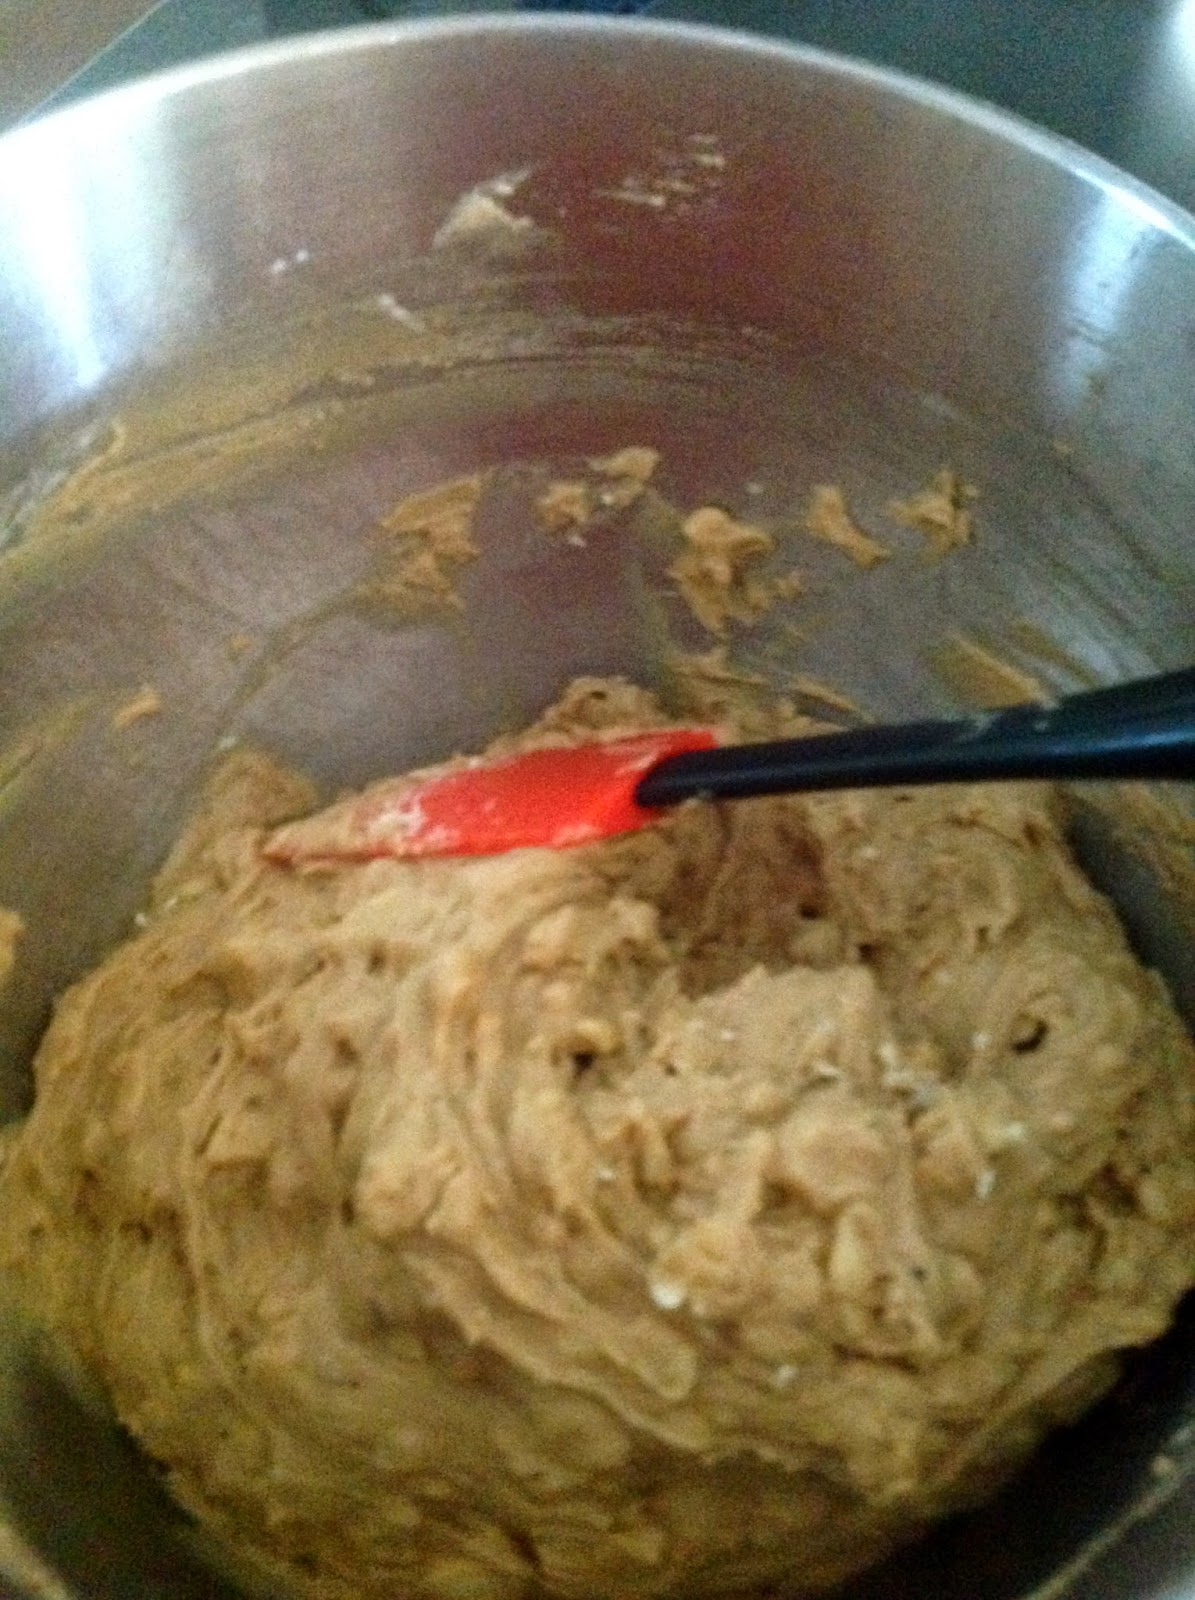
Melt the unsalted butter and set aside. In the KitchenAid, using the paddle attachment, measure the dark brown into the mixing bowl. Add the melted butter to the brown sugar, mixing on low speed to combine. Allow the butter/brown sugar to cool before proceeding to next step. Crack the eggs into a separate bowl and whisk together with the vanilla and vanilla bean paste. Add this to the brown/butter mixture, slowly, while the machine is running. Fold the dry ingredients into the batter until it is almost combined, then, add one-quarter of the chocolate chips and walnuts. Fold them completely into the batter.
Spread the batter evenly into the prepared pan.
Sprinkle the top with the remaining chocolate chips and walnut pieces.
Bake for 10 minutes, then lower the temperature to 325F-degrees, and I turn the pan. Bake for another 16 to 21 minutes. Mine always take 18 minutes more, exactly.
Remove from the oven and let cool completely before cutting and serving. And, if you're shipping them, like I will be doing, wrap them individually with wax paper.
Amy recommends cutting the bars, 5 across and 5 down for a total of 25 bars. I have always done 4 across and 6 down--which still gives me a pretty good side bar of golden goodness.
I know with Valentine's Day just a few days away, everyone's thinking chocolate, but I will tell you, this is a very nice surprise for the sweetheart in your life. I guarantee it. Enjoy!