Friday, April 22, 2016

Skillet Herb Rolls

When I got married, my mother gave me two things (besides advice!)--a large wooden bowl and a cast iron skillet.  Both have been used extensively and I can honestly say, no kitchen should be without them.

Griswold Manufacturing, founded in Erie, Pennsylvania, started manufacturing cast iron cookware in 1865.  However, it closed in 1957 due to financial difficulties and now many of the pieces have become collectors' items. In 1910, another company, Lodge started manufacturing cast iron cookware and is still in business in South Pittsburg, Tennessee.  Joseph Lodge started the family business that has gone through two World Wars and The Great Depression with products of quality that have become a choice of cookware today.  Besides the skillet my mother gave me, I have two smaller skillets, a pie-shaped divided skillet, a biscuit skillet, and several "corn" pans I use for cornbread.

The healthy benefits of cast iron cooking is widely known; 1) you avoid toxic fumes that accompany most non-stick cookware, and 2) foods cooked in cast iron can boost your intake of iron which is crucial for maintaining energy levels and strengthens the immune system.  There is a technique to cure your pan, but once that has been done, you have a wonderful non-stick pan that you can use for so many things.  My mother baked cornbread, fried chicken, made cobblers, and cooked our weekend breakfasts in hers.  There's so many more things you can do and baking rolls is one of them.

Skillet Herb Rolls
1/4 cup warm water (110F-degrees)
1 pkg. (2 1/4 tsp.) active dry yeast
1/2 tsp. granulated sugar

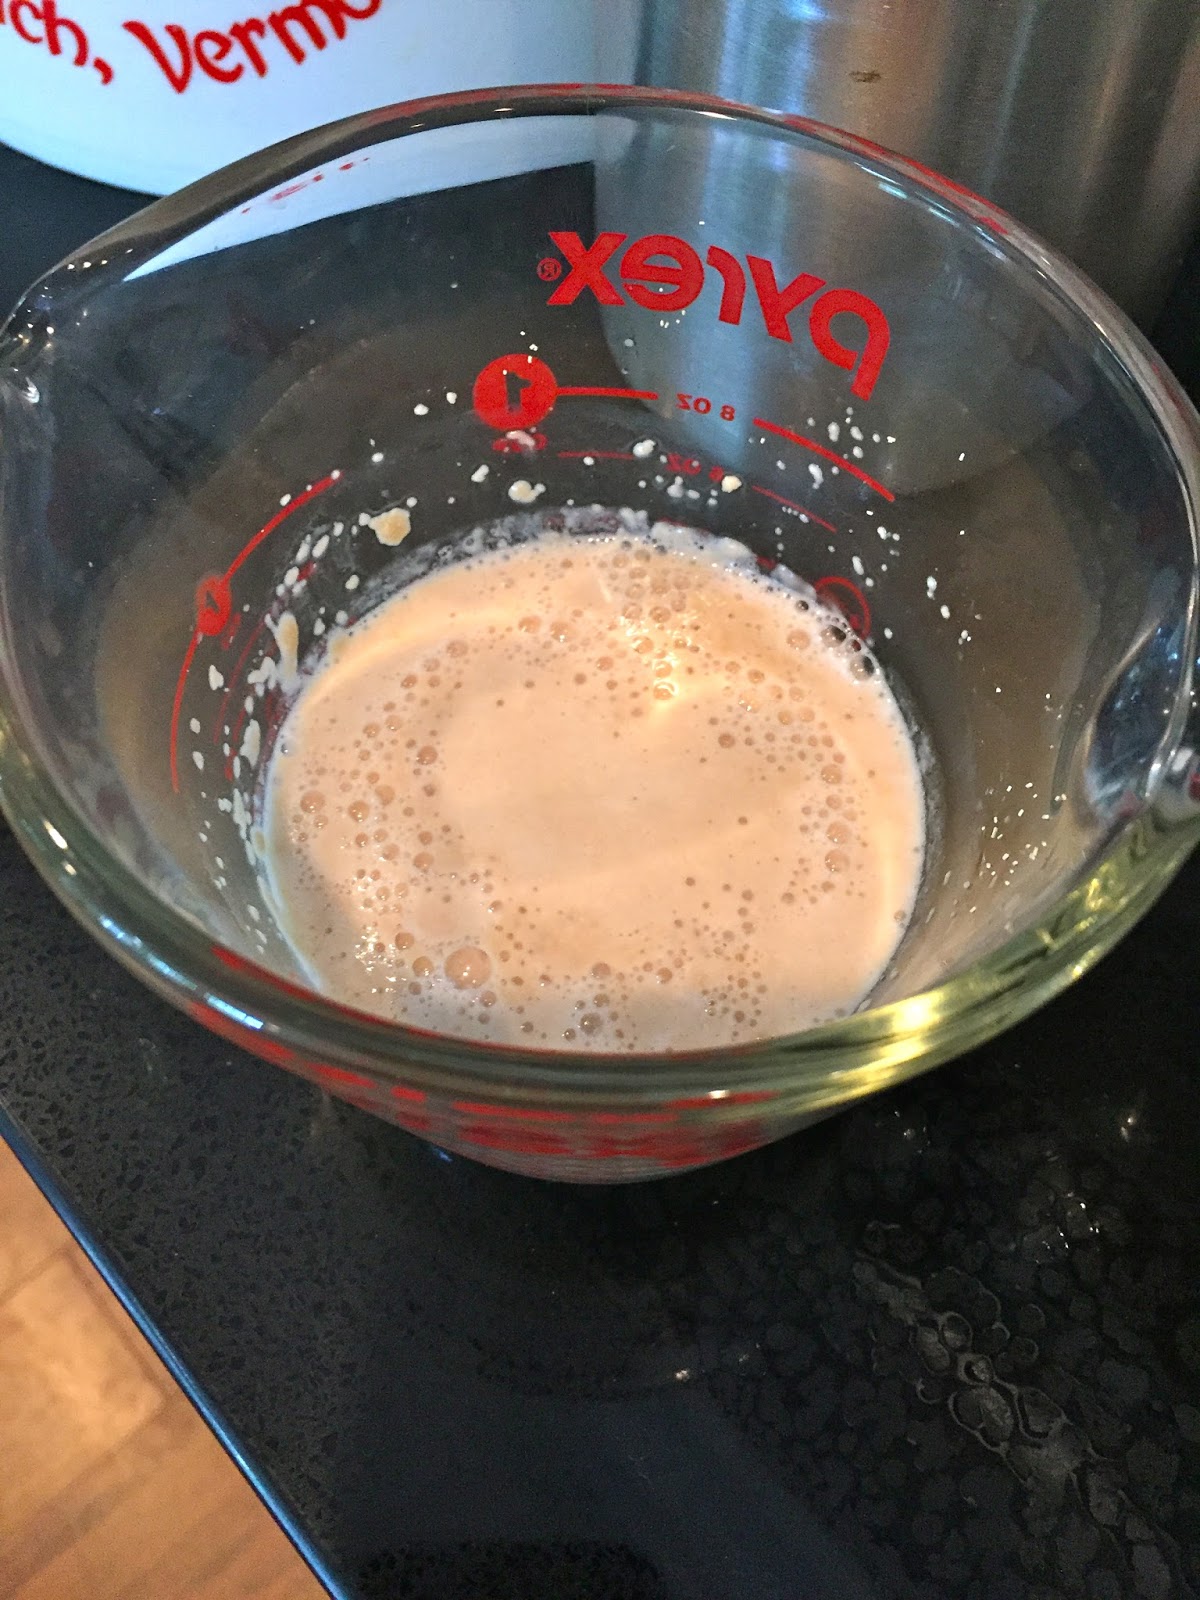
The first thing in making yeast rolls is to proof the yeast.  This is done by mixing the yeast into the warm water with the sugar.  Let set until the mixture becomes foamy.  This should take 5-7 minutes.
Meanwhile, in a stand mixer, using the dough hook attachment measure the remaining ingredients:

2 2/3 cups King Arthur Bread Flour
3 T granulated sugar
1 1/2 tsp. Kosher salt or Bread Salt
1 T dried onion
1 T dried dill
1/2 tsp. baking soda
1/2 tsp. ground black pepper
1 T unsalted butter, at room temperature
1 large egg
1 cup 4% cottage cheese
Turn the mixer on Speed 2 and start mixing the ingredients.  Add the "proofed" yeast and continue mixing until the dough comes together.  It will be a bit sticky, but not to worry.  Turn the dough out onto a bread board lightly dusted with flour.
Use your hands to knead the dough into a smooth ball.  Place the ball in a large bowl that has been brushed with melted butter, right side down, then, turn it over.  Cover the ball with plastic wrap.

Let rest in a warm place for about 1 hour--I used my screen-in porch for this step since it was 79-degrees outside!

Once the dough has doubled in size, lightly grease the 10-inch cast iron skillet with melted butter.  Divide the dough into 12 pieces and form into rolls.
Cover the rolls once again with plastic wrap and set aside for 30 minutes to rise a second time.
While the rolls are rising, preheat oven to 325F-degrees.  Brush the tops with melted butter and place in the preheated oven for 20-22 minutes or until golden brown.
These rolls were flavorful and wonderfully satisfying.  Thanks Mom for the skillet! Enjoy!

Wednesday, April 6, 2016

Strawberry Brown Butter Shortbread Bar

I hate to mention, but we have strawberries out here in North Carolina at the Farmer's Market--I bought some on Sunday and decided today what I would do with them.
I love shortbread and even more the flavor of brown butter with its nutty essence, so why not put them together?  This is easy to make up, but it does have a little "wait" time after you brown the butter. The brown butter needs to go in the freezer for about 30 minutes to firm up again (but not freeze!).  These bars would be perfect with afternoon tea or your favorite beverage on the porch...listening to the birds and smelling the clean, fresh air of Spring!

Strawberry Brown Butter Shortbread Bars
1 cup (2 sticks) of cold unsalted butter, browned
1 pint Strawberries
1 cup granulated sugar
1 tsp. baking powder
1/4 tsp. salt
1/4 tsp. cinnamon
1/4 tsp. freshly grated nutmeg
1/8 tsp. cardamon
2 1/4 cups King Arthur all-purpose flour
1 large egg

Butter a 9" x 13" baking pan.  I happen to use a Springform version which makes removing the bars very easy!

In a sauce pan on medium heat, melt the butter.  Lower the heat and continue cooking until the butter foams.  This takes 7 to 10 minutes.  Stir the butter to make sure the "browned bits" get incorporated.  Remove from the heat and pour into a small, shallow dish.
Place this mixture into the freezer for 30 minutes.  It should be firm, but not frozen. In the meantime while the butter is setting, wash and cut the strawberries into 1/2-inch pieces.  You should have about 4 cups.
Preheat oven to 375F-degrees.  Sprinkle about 3 tablespoons of granulated sugar on the berries so they will macerate.  In a large bowl, measure the dry ingredients and whisk together.  When the butter is set firm, add pieces to the dry ingredients and use a pastry cutter (or two knives) to cut the butter into the mixture.

 Once the mixture resembles crumbs, add the egg to it and stir to combine.  It will still appear "dry".  Spoon about three-quarters of the crumbs into the prepared baking dish and press down slightly.  Use a slotted spoon to distribute the strawberries over the shortbread base.


Finally, sprinkle the top of the strawberries with the remaining one-quarter of the crumbs.

Bake in the preheated oven for 30 minutes.  Remove and transfer to a rack to cool for 10 minutes.  Use a flat spatula to go around the edges and make sure nothing has stuck to the sides of the baking dish.  Cool completely, then cut into bars.  Makes 24 bars.

These shortbread bars are full of flavor and I can imagine trying other fruits too.  Enjoy!

Monday, April 4, 2016

Mason Lid Cherry Pies & April's Give-Away Apron

In the South we are fixated on mason jars.  We used them for our Sweet Tea, Lemonade, Beer or in my case, Diet Coke, bake pies or cakes in them, and of course use them as vases for our flowers.  However, when I saw this idea on FaceBook, I thought, "why not!"  However, instead of the jars, the rings and lids were used.
So, Sunday's dessert features hand-held Cherry Pies.  Perfect for picnics as the weather gets warmer or dress them up with some really good vanilla ice cream.  Easy to make, starting with my pie dough.

Perfect Pie Crust
4 cups King Arthur all-purpose flour
1 tsp. sugar
1 tsp. baking powder
1 tsp. salt
1 3/4 cups shortening (I use Crisco Butter-flavored in sticks for easy measuring)
1/2 cup cold water
1 tsp. apple cider vinegar
1 large egg

In a stand mixer, place all the dry ingredients and turn on low to combine.  While the mixer is running on medium speed, add the shortening, 1 T at a time.  Mix until it resembles "sand".  In a 2-cup glass measure, add the water, vinegar and large egg.  Whisk to combine.  Turn mixer on medium and pour the liquid into the dough, mixing only until it comes together in a ball.

Place dough on a lightly floured board and form into a log.
Divide the dough into fourths.
Flatten the pieces into round disks and wrap in plastic wrap.  If you're using the dough on the same day, refrigerate at least 1 to 2 hours.  However, this dough freezes well (for 6 months) if you place the wrapped disks into a quart freezer bag--label the date and you have pie dough when the urge hits you to bake:-D

To make the Lid Pies--I used a can of Cherry Pie Filling, but you could also make your own filling ahead of time.  Just make sure you cook your filling because these pies only bake 25-30 minutes.

Place the rings on a parchment-lined baking sheet.  Make sure the lid has the "rubber" side down away from the dough.

Preheat oven to 375F-degrees.  Roll out the dough and use a round cutter, larger than the  ring, or trace around the lid using a paring knife, about 1/2-inch large than the lid.  Place dough inside the ring.

Spoon 2-3 T of filling into the center of the dough.  Have a small dish of water handy and use your fingertips to dip in and run around the outside of the dough.  This helps the tops to adhere to the base.
Roll out more dough and cut circles the same size as the ring.  Use the paring knife to make a few slits in the top.  Place on top of the pies and press around the edges.  Use a fork to press the edges and give a decorative look.

Finally, beat one egg with 1 tsp. water and brush on top of the pies.  Sprinkle the tops with Demerara Sugar.
Place pies in the preheated oven for 25 to 30 minutes or until golden brown.  

Allow to cool slightly.  The lid allows for the pie to be pushed up and released from the ring.  You can serve these as "hand-held" pies or on a dessert dish with a little ice cream.  Enjoy!

This month's apron is also from "The Little House on the Prairie" collection.  I loved the tiny flowers and the vintage look of this fabric.  Comment on any posts this month and you could be wearing this lovely apron!

Saturday, April 2, 2016

March's Apron Winner...

A quick post today to announce the winner of March's Apron; I didn't want to announce it yesterday for fear that someone would think it was an April Fool's joke!

Miss Jane is the winner of this lovely apron!  Please email me your address so I can get lovely apron off to you.  Tomorrow, I will post April's apron.