Wednesday, November 28, 2012

Black & White and Red Cookies

One of my fondest memories of growing up, was stopping in at my grandparent's house after school before walking up the 100 yard path to our house.  I'd get to catch up on what both of them had been up to and my grandfather always had a riddle, joke or puzzle to share with us.  The joke, "What's black & white and read (red) all over" was one of his best and I have to say, it gave me a chuckle...even today.  So, this recipe is an ode to my grandfather and his incomparable sense of humor.

Black & White and Red Cookies
1 cup (2 sticks) unsalted butter, at room temperature
3/4 cup firmly packed light brown sugar
1 cup granulated sugar
1 large egg
2 Vanilla beans (split and scraped) 
1 tsp. Vanilla extract (or 2 tsp. if you don't use the beans)
1/2 cup Dutch-processed cocoa
2 oz. unsweetened chocolate, melted
2 cups King Arthur all-purpose flour
1 tsp. baking powder
1/2 tsp. baking soda
1/2 tsp. kosher salt
1 1/2 cups white chocolate chips
1 cup dried cranberries

Preheat oven to 350F-degrees.  Line cookie sheets with parchment and set aside.
In a stand mixer, using a paddle attachment, cream the butter and sugars until fluffy.  Scrape the sides as needed with a spatula.  Add the egg, vanilla(s) and unsweetened chocolate and mix to combine.
Add the dry ingredients and mix on medium speed until fully incorporated.  Scrape the sides again and add the white chocolate and cranberries; mix again to combine.
Scoop up the dough and place on the lined baking sheet.  Press down the tops slightly with your hand.
Bake 10 to 12 minutes; tops should be cracked and look "dry."
These would be just perfect with a cold glass of milk for Santa...which by the way, I thought I'd show you my collection of Santa's and Father Christmases that I've been collecting for 30 years.  They have their own cupboard because I believe...
"and it was always said of Ebenezer Scrooge, that he knew
how to keep Christmas well, if any man alive possessed the
knowledge. May that be truly said of us, and all of us! And so,
as Tiny Tim observed, God bless Us, Every One!" 
I made this one in the early 90s

I bought this handmade Father Christmas in 1995 after my father passed away.  He looked like my Dad, across the eye:-D

Now, I was all set to go to a friend's craft business (Ellen Hutson, LLC) and deliver a bag; they were busy packing orders, like little elves.
Tis the Season of Giving. Enjoy!

Monday, November 26, 2012

Leftover Bread

You know when your car acts up and you take it in to the mechanic and say, "it makes this funny noise, then cuts out."  However, when it's in for service, do you think that (traitor) car will make the noise or cut out to prove you're not crazy?  Nope, not even a peep!  That's the same with my oven.  Today, I thought, let's see if it will turn on without flipping the breaker--yeah, you guess it, no problems.  I'm thinking it's a short and it will eventually cut out for good, but today, I baked.  I just couldn't bring myself to go to the grocery store and buy bread when I can make it.  After all, I have leftovers; mashed potatoes, that weren't enough for another dinner, but perfect for bread.

Bread is significant for us.  In the Lord's prayer we say, "Give us this day our daily bread," and it's one of the elements, along with wine, in the Eucharists--sacramental bread.  In other cultures, bread goes beyond just something to consume and is a metaphor for basic necessities.  Furthermore, the household person who works to pay bills is called the "bread-winner" and Beatniks were the first to associate the word bread for money.

Bread was a staple in Europe and those cultures who found their way to America, brought their recipes with them.  When I think of bread, I remember my mother getting out her large wooden bowl and mixing flour, salt, and yeast, in addition to honey or sugar, sometimes eggs and milk, and maybe dried fruit.  I don't think we ever had mashed potatoes leftover (hey, we're Irish!) but I remember once being with my mom at an Amish market in St. Mary's County and she bought a loaf of potato bread.  When she replicated the recipe, she would boil a couple of potatoes and then, mash them with a fork.  My leftovers are usually prepared mashed potatoes, complete with butter and cream, but it works.

Leftover Bread
1/2 very warm water (about 105F-degrees)
2 scant Tablespoons of dried yeast
1 tsp. honey

5 cups King Arthur Bread flour
1 cup whole wheat bread (I had ground my own)
2 tsp. kosher salt
2/3 cup whole milk
3 T unsalted butter
3/4 cup of prepared mashed potatoes
1/4 cup honey
1 cup water

4 T unsalted butter, melted, for pans and bread

Start by proofing the yeast.  Mix the dried yeast into the warm water and add the honey.  Whisk lightly and let sit about 7 minutes.
While that is resting, heat the milk, butter, mashed potatoes, and honey in a small sauce pan over a medium heat.
In a stand mixer, using the bread hook, add the flours and salt, mix briefly.  First, add the milk mixture and mix on Speed #2 to combine, then, add the proofed yeast.  While the mixer is running, slowly pour the water over the dough, adding all or enough to bring the dough together.  It should be away from the sides and not sticky to the touch.
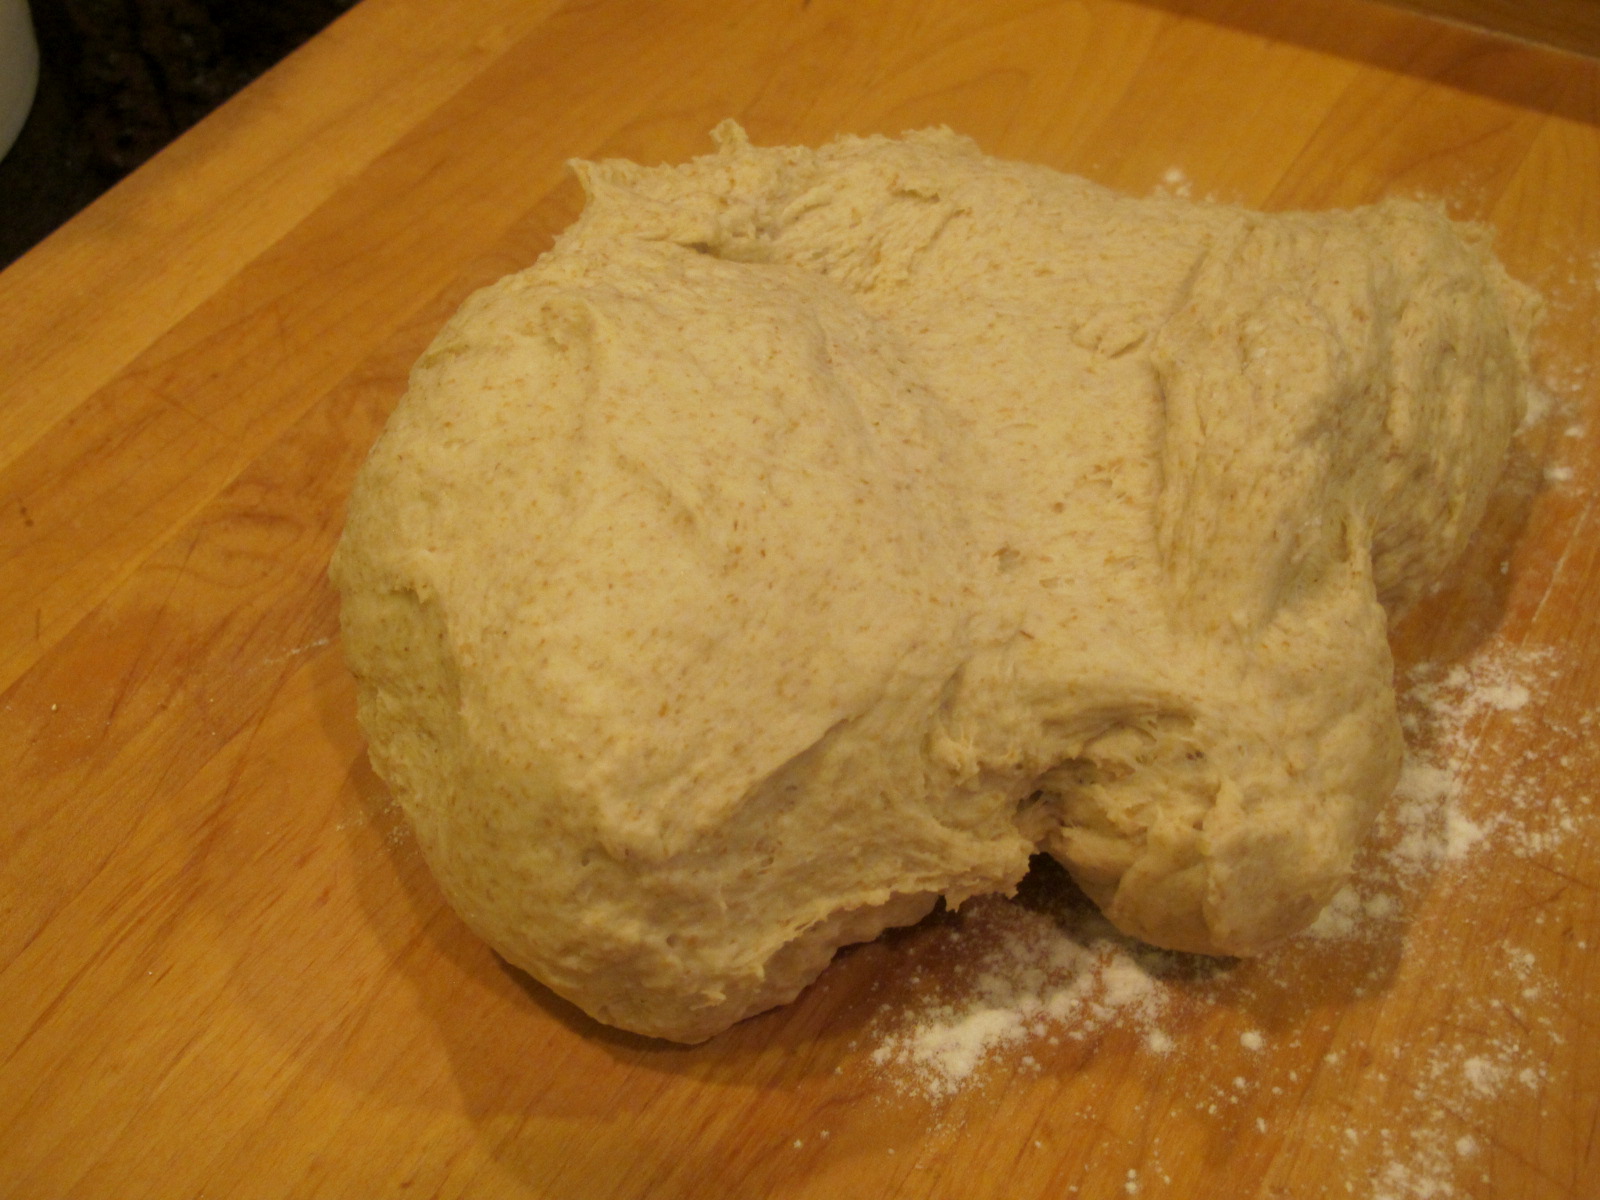
Lightly flour a bread board and invert the bowl, allowing the dough to "drop" onto it.
Note--the bowl should look almost clean if it has mixed properly.
Knead dough a few times, adding any additional flour to create a smooth dough.  Butter a large bowl or use a dough tub to place the dough in, right-side down, then, turn right-side up.  Allow to rise about 40 minutes.

Again, sprinkle a bread board with some additional flour and invert the bowl with the dough onto it.
Divide dough in half, then in to half again, giving you 4 pieces.
Flatten each piece, to the size of the loaf pans (I used two 9" x 5").  Roll up the side, away from you, pushing down to seal as you roll until you get to the end.  Pinch to seal.
Repeat with the other quarter, then place the two pieces into the buttered loaf pan.

Repeat to fill the second loaf pan.  Brush melted butter on top and cover with plastic wrap.
Because it's chilly out, I also covered the pans, lightly, with a cotton dish towel.  Let rise about 30 minutes or until doubled.  Preheat oven to 375F-degrees.

Removed plastic wrap and brush with additional melted butter.  Bake in the preheated oven for 35 minutes or until a thermometer reads 190F-degrees from checking the center of the bread.
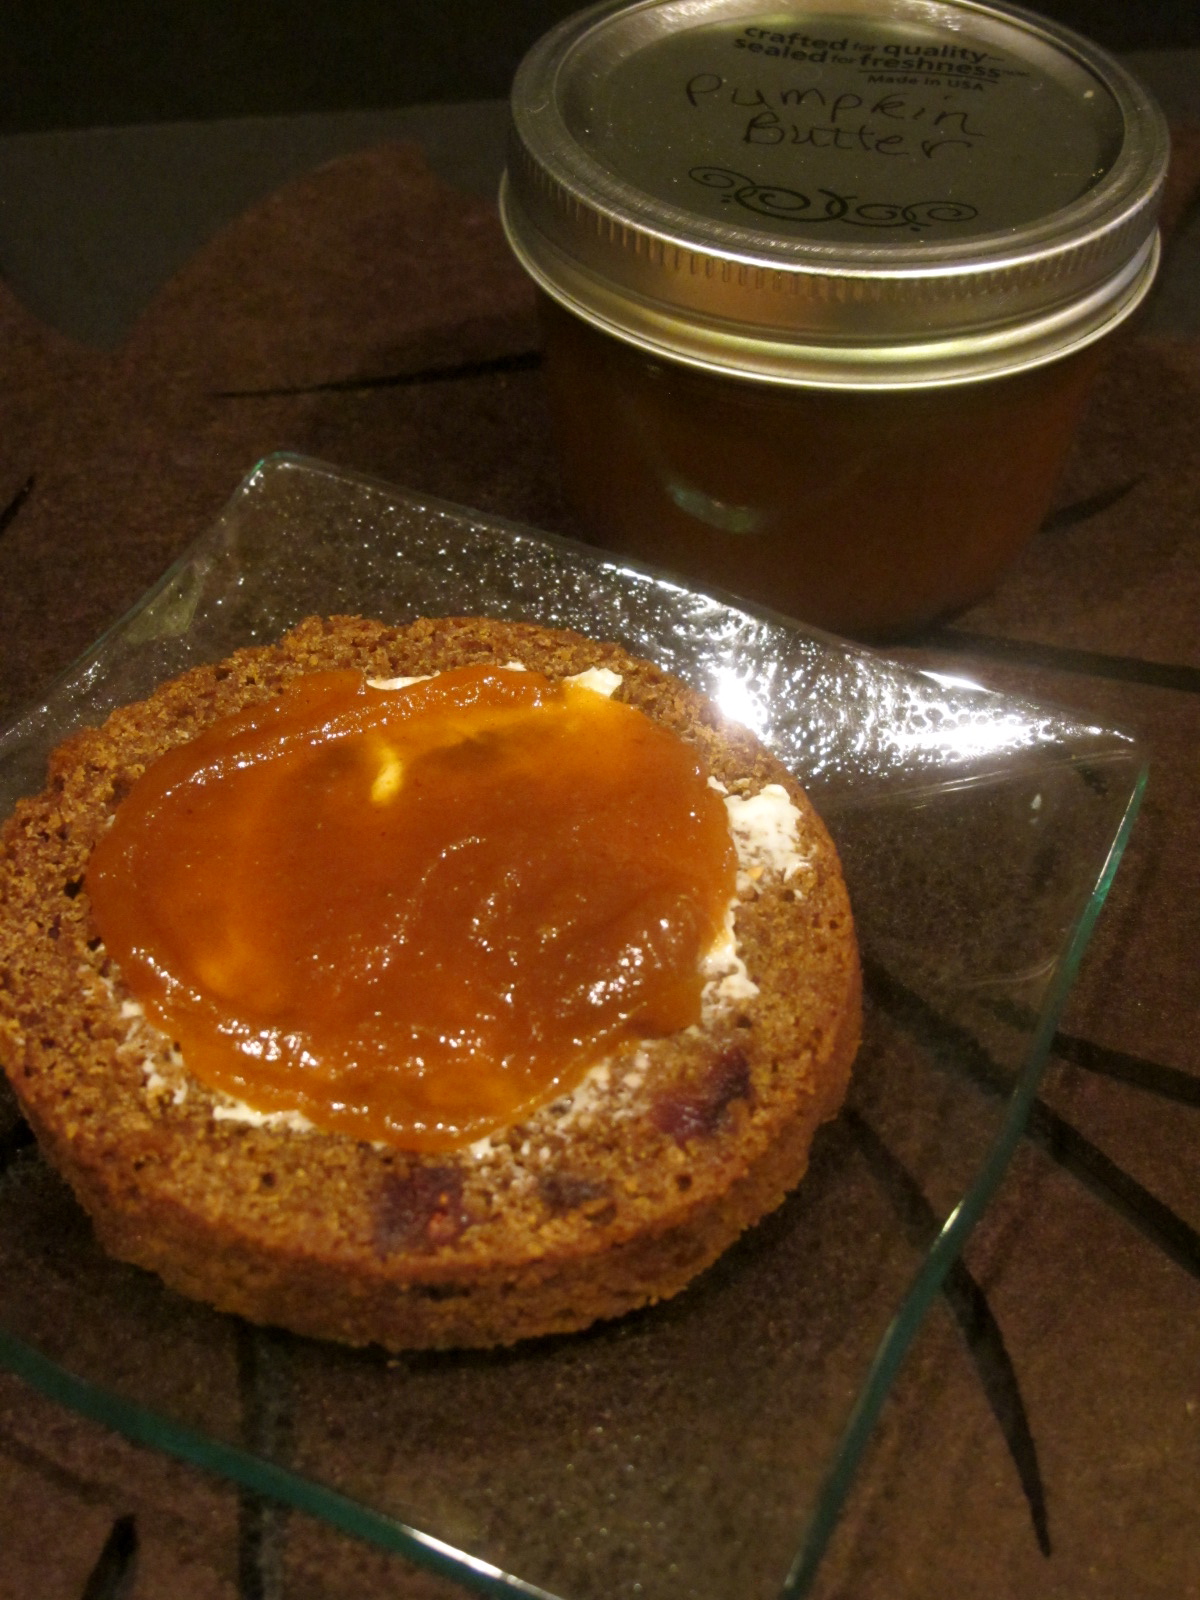
If desired, brush with some additional melted butter and allow to cool completely before slicing.
I love the smell of bread baking and I'm thankful the oven decided to cooperate.  Enjoy!


Friday, November 23, 2012

Boston Brown Bread

Yesterday, before my oven went on the fritz (yes, it did!!), I baked one of the breads that I was serving for our Thanksgiving dinner--Boston Brown Bread.  I thought it would go perfect with the Roasted Corn Chowder I was making and it gave me a sense of where the first thankful feast began.

This bread, which began with the Puritans has rye flour, that could be grown with relative ease in the cold climate, and corn (maize) which was a gift from the Native Americans.  In addition to wheat and some all-purpose flour, this moist brown bread is steamed in cylinder 1-pound cans, which was the hardest thing to find.  I'm not a coffee drinker, but it is the 1-pound size can you need;  good luck finding it!  I bought two cans, only to discover when I tried to remove the labels, the sides were cardboard, not metal.  The only thing I could come close to was the 29-ounce can of canned pumpkin, which I had just used two for my pumpkin butter that I just made.  I was even ambitious enough to grind my own wheat and cornmeal, which proved easier than finding the cans I needed:-D


Boston Brown Bread (adapted from Bon Appetit magazine-Nov.2012)

3 T unsalted butter, melted
2 cups whole milk
1/2 cup molasses
1/4 cup firmly packed light brown sugar
1 tsp. kosher salt
1 1/4 cups whole-wheat flour
1 cup King Arthur all-purpose flour
1 cup rye flour
1/3 cup cornmeal
1 T baking soda
1 tsp. baking powder
1 cup raisins (optional); I used 1 cup dried cranberries

Preheat oven to 350F-degrees.  Brush 1-pound coffee cans (or a can that will hold 1 qt. liquid=4cups) with melted butter.  Cut a circle from wax paper or parchment and place in the bottom of the can.  Brush the circle with additional butter.
In a small sauce pan, heat the milk, molasses, brown sugar and salt just until warmed (do not boil).  In a large bowl, measure out all the dry ingredients and use a dough whisk to combine.
Pour the milk mixture over the dry ingredients and whisk until smooth.  Add raisins (or cranberries) if using.  If you were lucky to find 1-pound coffee cans, divide the batter between the two cans.  Since I used the pumpkin puree cans and they didn't hold quite 4 cups of liquid, I divided the batter between 3 cans and lowered the amount of time needed to steam from 1 1/2 hours to 1 hour.  The batter should not exceed coming up two-thirds of the way up.

With the remaining melted butter, brush 2 (or 3) 6-inch squares of foil, doubled and place over top of the cans, butter-side down.  Press around the edges to seal, then secure with kitchen twine or I used my silicon bands to hold in place.

 Place cans in a Dutch oven and pour boiling water around them, to come about 3-inches up sides of the cans.
Here's where the recipe takes a turn--usually Boston Brown Bread is steamed on top of the stove, but this recipe called for baking it in the oven!  For the 1-pound cans, 1 1/2 hours; anything smaller 1 hour or less.

Bake until a skewer inserted through the foil in the center of each loaf comes out clean.  Transfer loaves to a rack and allow to cool for 10 minutes.  Run a knife around the edges and invert to release loaves (the wax paper/parchment circle helps it to slide out easily.)
Let cool completely.  Bread can be made up to 3 days ahead and wrapped tightly in plastic wrap.  Slice bread and serve with soft butter...or pumpkin butter, as I had mine this morning.
 Now begins the Christmas season, but first I have to deal with an oven!  Enjoy!

Wednesday, November 21, 2012

Blessings...

There has been a deluge of rain the last three days; homes damaged and wondering if there will be a Thanksgiving to celebrate for some of the people in the Pacific Northwest.  The glorious sunset this evening gives me hope that families will be together and have a blessed Thanksgiving...here and everywhere in the United States.
Happy Thanksgiving to all my blogging friends and your families!  XOXO

Tuesday, November 20, 2012

Cranberry~Almond Upside-Down Cake

Thanksgiving (in the United States) is just 2 days away and I'm still deciding on the desserts I will make.  I love cranberries or as we called them growing up, "bounce berries!"  We're so very lucky in the Pacific Northwest that they are grown locally...Oregon, to be exact.  The color and flavor of fresh cranberries far exceeds the ones that are packaged back in September or early October and shipped to the grocery stores.
I came across this recipe in the December 2012 Wholeliving magazine as a food gift to give to friends, which I love doing.  In addition to cranberries, it also caught my attention because it calls for ground almonds, so it makes this recipe Gluten-free; something a lot of my friends have to adhere to.
The only change I made was in the pan I baked them in--it called for 3" x 6" loaf pans, but I used my multi-mini loaf pan which is 2 1/2" x 4", so I was able to get eight cakes.  More to give or eat!!

Cranberry~Almond Upside-Down Cake

2 1/2 cups fresh cranberries (about 10.5 oz)
2T granulated sugar 

4 T (1/2 stick) unsalted butter, at room temperature
1/2 cup granulated sugar
3 large eggs
1 tsp. vanilla (+I used 1 vanilla bean, split and scraped)
 
2 cups almonds, toasted and ground
1/2 tsp. baking soda
1/2 tsp Kosher salt

Preheat oven to 350F-degrees.  Measure the 2 cups of almonds and toast them for 5 minutes.  Allow to cool, then grind in the food processor (being careful not to turn them to almond butter!) or use a nut grinder, which is what I did.
Rinse cranberries under cold water and take out any that are spoiled.
Place cranberries and the 2T sugar in a sauce pan and cook over medium heat, stirring until cranberries begin to pop--about 6 minutes.
 Melt about 2 Tablespoons of butter and brush the mini loaf pans (you could also use a muffin pan). Divide the cranberry mixture among the openings.
In a stand mixer, using the paddle attachment, cream the butter and sugar until pale and fluffy.  Add the eggs, one at a time, scraping down the sides of the bowl as needed.  Add the vanilla and beat once more.

Mix the baking soda and salt in the ground almonds, then, add to the bowl and stir to incorporate.  Scoop the mixer over the cranberries and gently smooth the tops with an offset spatula.  
Place pan on a rimmed baking sheet and bake until a tester, inserted in the middle, comes out clean--for the size specified by the recipe it was 30 minutes.  However, for my mini loaf pan, it only took 16 minutes.  For muffins, you will have to test.

Let cool slightly, then place a parchment-covered rack over top and invert pan.  Allow to cool completely before wrapping up the individual loaves.
These were a "test" and I will be dropping them off to a couple of friends today, but when I bake them for our dinner, I'm thinking some homemade vanilla (or even better egg nog) ice cream might be a nice accompaniment--what do you think?  Enjoy!
 

Saturday, November 17, 2012

Announcing...


This post has nothing to do with baking, but I thought I'd share my good news.  We will be bringing home (in December) a new cat--another Ragdoll.  She's 81/2 years old and was one of the breeding females at American Ragdoll in Lebanon, Missouri.  I found this breeder, one evening after losing our sweet boy, Bailey, and called the owner, Stacy to ask her if she ever had a kitten to match the variety of Ragdoll we had, please let us know.
Bailey, 05November1995 ~ 19July2012
 Well, that hadn't happened yet, but this precious girl came up needing a home and those blue eyes just drew me in.  I've thought about her for sometime now and last night, made the decision.  My hubby said it's my birthday and Christmas present and that's fine with me.  I'm happy, XOXO

Thursday, November 15, 2012

Carrot Cupcakes with Apple Cider Caramel Cream Cheese Icing


One of the best things I remember about past Thanksgivings is the dessert table--although, after a big dinner, it's usually saved for later in the evening to indulge in.  The last couple of years, I've chosen to do small desserts so we could have a sampling of everything we love--like mini tarts instead of a large pie.  So today, I thought I'd try out a recipe, I've had in my head for awhile, for a cupcake that would be a perfect bite for the occasion.  After all, who doesn't love cupcakes, especially for the kid's table.

Instead of picking the obvious pumpkin, I chose carrot, which is one of oldest daughter's favorite.  In fact, as much as Kelly asked for pumpkin pie for her birthday, Erin asked for carrot cake!  The concept maybe the same with the spices, but to them they each had their own version.  Carrots possess that beautiful orange colour that I love at Thanksgiving and nutritionally speaking, they pack a wallop of goodness with b-carotene and vitamin A besides, dietary fiber, antioxidants, and minerals.

Carrot Cupcakes with Apple Cider Caramel Cream Cheese Icing

3 large carrots (about 12 oz) peeled and grated=approx. 2 cups

1 1/2 cups granulated sugar
1 cup vegetable oil
2 large eggs
1 vanilla bean, split and scraped

1/4 cups + 1T buttermilk
2 cups King Arthur all-purpose flour
1 1/2 tsp. baking powder
3/4 tsp. baking soda
3/4 tsp. Kosher salt
3/4 tsp. ground cinnamon
3/4 tsp. ground ginger
1/2 tsp. ground cardamon
pinch of ground cloves
1/3 cup dried cranberries

Preheat oven to 325F-degrees.  Line muffin pan with paper liners (this recipe made 15 cupcakes).
In a stand mixer, using the paddle attachment, combine the first five ingredients and mix well.  In a separate bowl, mix together all the dry ingredients, then add to the wet ingredients in the bowl and mix on low to combine.  Stir in the dried cranberries.

Scoop the batter into the lined muffin pans, filling almost to the top.

When you don't utilize every opening, fill the remaining cavities with 1/2-inch of water to ensure proper baking
Bake for 20 to 22 minutes until a wooden skewer comes out cleanly and pressing on the tops will feel firm.

Allow to cool about 7 minutes in the pan and then transfer to a cooling rack to cool completely.

Apple Cider Caramel:
4 cups (1 qt) Apple Cider
2 T unsalted butter
1 tsp. vanilla

Bring the apple cider to a boil, then turn down to a simmer.  Continue to cool until the cider reduces down to about 1 cup.

When it has reached the right reduction, remove from the heat and add the butter and vanilla.  Allow to cool completely (I refrigerated the caramel for 30 minutes, while the cupcakes were cooling).
Cream Cheese Icing:
1/2 cup (1 stick) unsalted butter, softened to room temperature
1-8oz package to cream cheese, at room temperature
2 lbs. confectioners' sugar (icing sugar)
7 T apple cider caramel

In a stand mixer, using the paddle attachment, cream the butter and cream cheese completely.  Add one-half of the confectioners' sugar and 4T apple cider caramel and mix on low to combine.  Add the remaining sugar and cider, again mixing on low, then turn the speed up to med/high and beat until fluffy.

I decided to remove a "plug" of cupcake to add some icing into the center of the cupcake, but you could also do a fancy filling.
I use Tip#6B to pipe the swirl on top of the cupcake.
Ari and I had to decided to surprise his dad, whose birthday is on Monday with cupcakes, and the only way I could safely get these to Ohio is to do "Cupcakes in a Jar."

 I split the cupcake in half, piped some icing, then topped with the other half and finished with more icing.  Screw on the lid, wrapped in bubble wrap and shipped--just like we planned!

Now, to plate this dessert for Thanksgiving, I would remove the paper lining, and drizzle addition apple cider caramel over top.
Cut in half and you can see the extra surprise of icing that I piped in...delicious:-D

It's these little twists in dessert that brings the oohs and aahs when your family and friends gather.  I've got some other ideas that I will share for the holidays, so come back--Enjoy!